
If your Kubota ZD326 temperature gauge not working, the problem is often simple: a bad sender, a loose wire, or a failed gauge. The good news is that you can narrow it down fast with a few basic checks.
A broken temperature reading does not always mean the engine is overheating. On this mower, the gauge system is only as good as its power, ground, sender, and wiring. This guide walks you through the most likely causes, the best fixes, and a clean step-by-step troubleshooting process.
By the end, you will know how to tell the difference between a false gauge problem and a real cooling issue, what to inspect first, and when to stop and call for help.
For wider troubleshooting context, compare this guide with Kubota ZD326 Problems: Common Issues, Troubleshooting Tips, and Solutions, Kubota ZD326 problems, Kubota zero turn fuel problems.
Start with the most likely cause
When a temperature gauge stops working, the most common cause is an electrical issue, not a cooling system failure. On the Kubota ZD326, that usually means the sender wire is damaged, the ground is weak, or the gauge itself has failed.
That matters because a mower can run normally for a while even when the gauge is dead. If you assume the engine is safe just because the needle stays low, you can miss a real overheating problem. On the other hand, if the gauge is faulty, you may worry about a problem that is not there.
Before replacing parts, do one quick reality check. Look for signs of actual overheating such as power loss, hot coolant smell, steam, coolant overflow, or engine shutdown. If none of those are present, the issue is more likely in the gauge circuit than in the engine cooling system.
How the Kubota ZD326 temperature gauge works
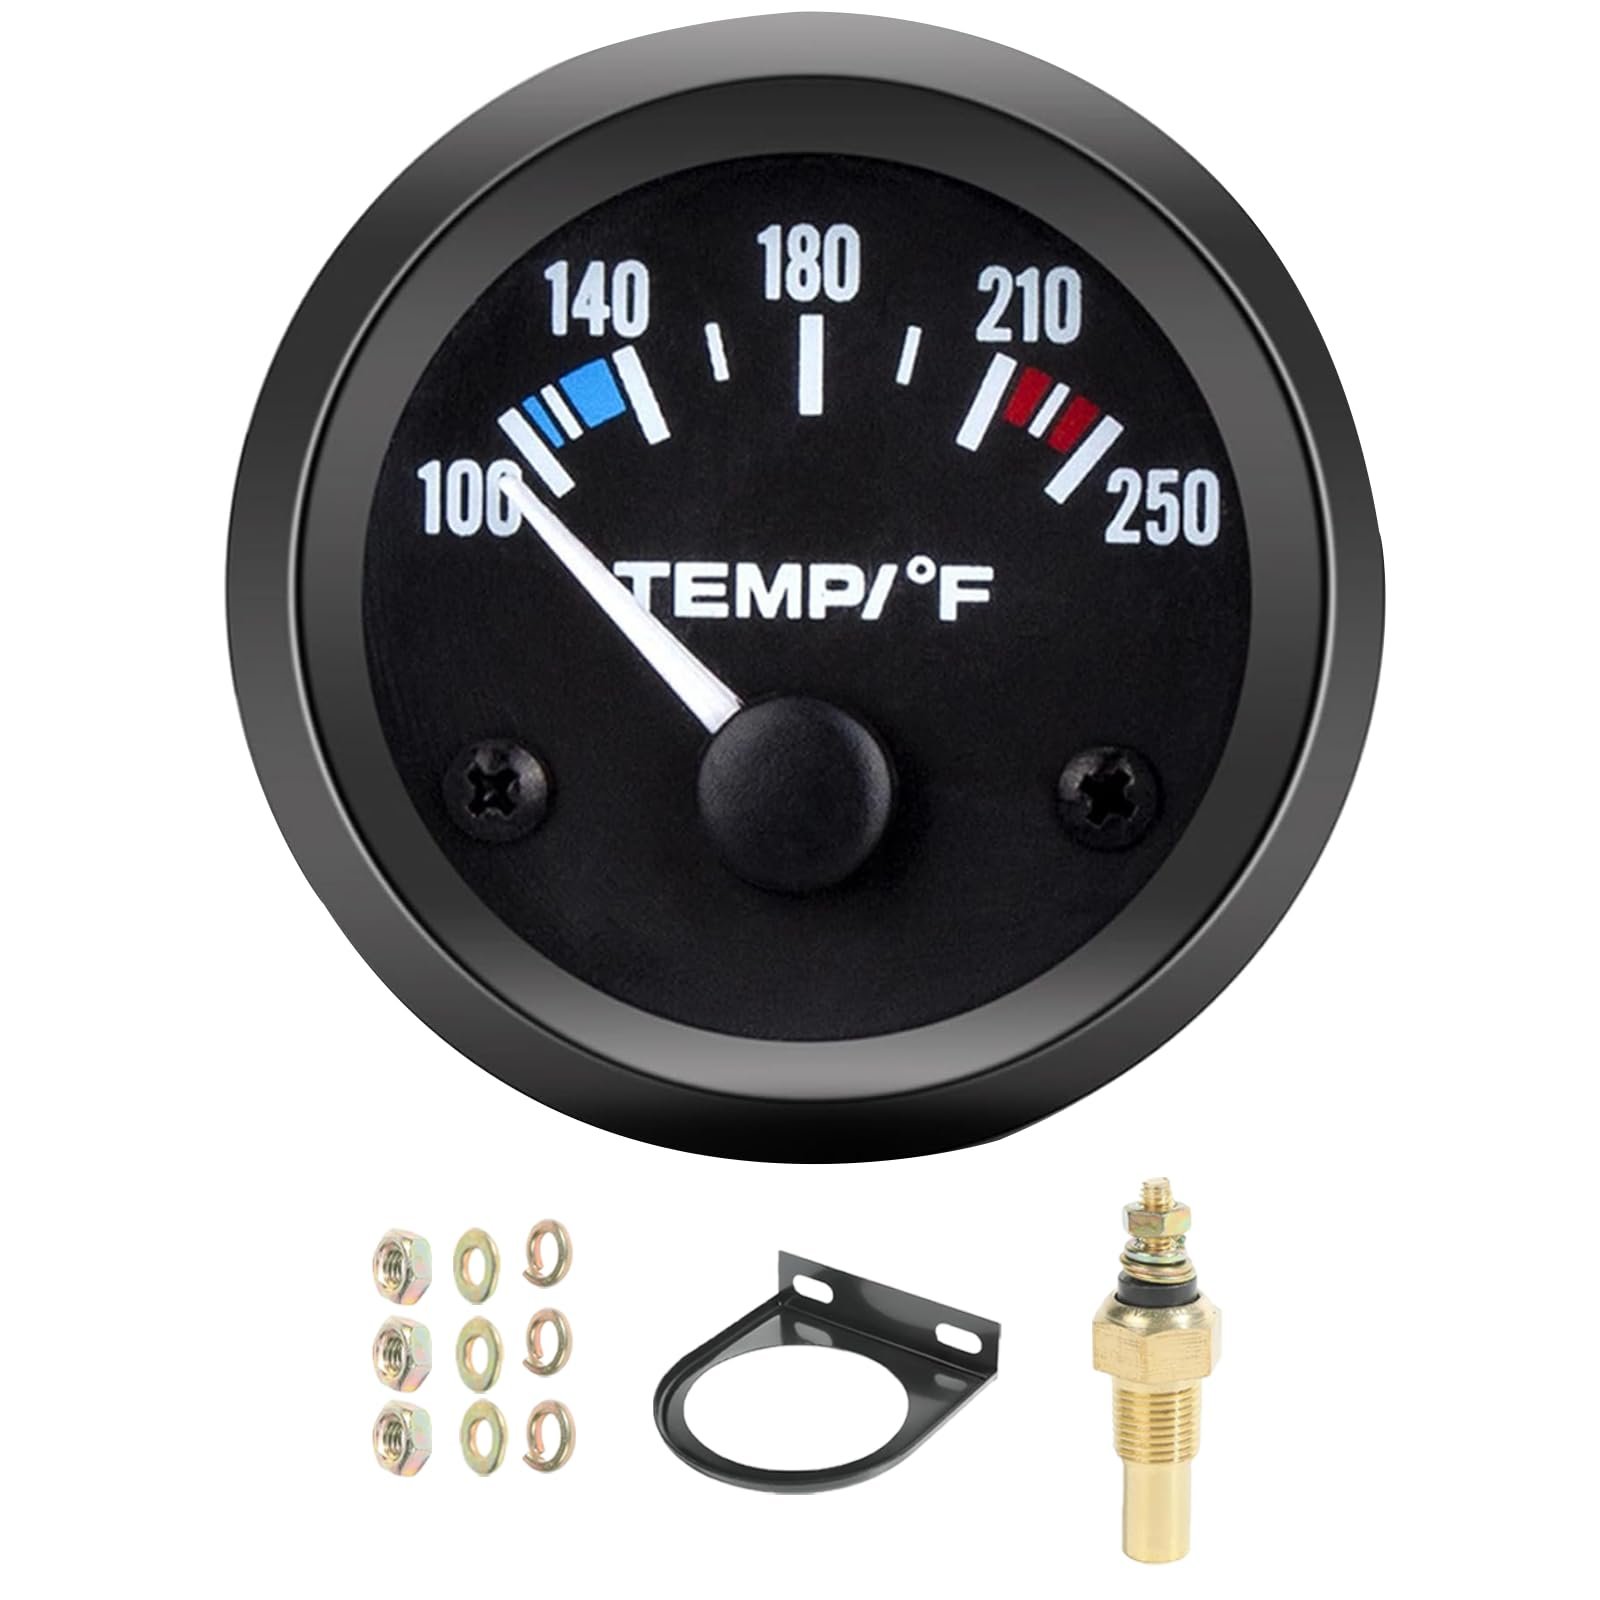
The temperature gauge is part of a simple electrical loop. The sender on the engine changes resistance as temperature changes. That signal travels through a wire to the gauge, which then moves the needle.
If any part of that loop fails, the reading can become wrong or disappear completely. A bad sender may make the gauge read cold all the time. A broken wire may make the gauge sit at zero. A poor ground may cause an erratic needle that jumps around.
One detail many owners miss is that a gauge problem can look like a cooling problem only under load. The engine may seem fine at idle, then the needle behaves oddly after 20 to 30 minutes of mowing. That pattern often points to heat-sensitive wiring, a weak sender, or a connector that opens when vibration and engine heat increase.
Another common mistake is testing only by touch. A radiator or engine surface can feel “not too hot” even when internal coolant is already near a dangerous level. The gauge, sender, and actual engine temperature need to be checked separately.
Common causes of a non-working temperature gauge
1. Faulty temperature sender
The sender is one of the first parts to check. It sits on or near the engine and is exposed to heat, moisture, and vibration. Over time, its internal resistance can drift or fail completely.
A failed sender can cause a gauge that stays cold, reads full hot, or moves only sometimes. If the wire is connected securely but the gauge still does nothing, the sender is a strong suspect.
2. Loose, corroded, or broken wire
Wiring problems are very common on mowers that work in dust, grass, and rain. A connector may look attached but still have green corrosion inside. A wire may break near the terminal where vibration is strongest.
This kind of fault often creates an intermittent problem. The gauge may work for a minute, then fail again when the machine bounces over rough ground. That makes it one of the hardest issues to spot without a careful inspection.
3. Bad ground connection
Electrical gauges need a solid ground path. If the ground is weak, rusted, or loose, the gauge signal can become unstable. Sometimes the needle will read lower than it should. In other cases, it will not move at all.
Ground faults are easy to miss because they do not always look damaged. A bolt can seem tight while still sitting on paint, rust, or dirt that blocks proper contact.
4. Failed gauge inside the dash
If the sender, wire, and ground all check out, the gauge itself may be bad. Internal gauge failure is less common than wiring trouble, but it does happen, especially on older machines exposed to heat and vibration for years.
A failed gauge can show no movement at all, even when the sender wire is grounded during a test. If the needle does not respond to that test, the gauge or its power feed may be the issue.
5. Blown fuse or power supply issue
Some gauge circuits share power with other dash functions. If a fuse blows or a power connection loosens, the gauge may lose voltage and stop reading. This can happen after a short circuit, corrosion, or a previous repair.
Do not skip this step. It is simple, but it solves more problems than many owners expect.
A practical troubleshooting sequence that works
Use a step-by-step approach. Do not replace parts at random. That wastes money and often leaves the real fault untouched.
- Check for real overheating symptoms. Look for steam, coolant smell, reduced power, or shutdown.
- Inspect the gauge needle. See whether it stays dead, reads cold only, jumps, or pegs hot.
- Check fuses and dash power. Make sure the instrument circuit has power.
- Inspect the sender wire. Look for loose connectors, broken insulation, or corrosion.
- Check the ground. Clean the contact point and confirm it is solid.
- Test the sender. Compare the reading to a known-good condition if possible.
- Bypass-test the gauge. Ground the sender wire briefly to see whether the needle moves.
- Replace the failed part. Only after the test points to a specific fault.
This order matters because it moves from easiest checks to more specific diagnosis. It also prevents you from blaming the gauge when the problem is really in the wiring harness.
Credit: amazon.com
Quick test: what happens when you ground the sender wire?
This is one of the most useful tests for a dead temperature gauge. With the key on and the engine off, briefly touch the sender wire to a clean engine ground. On many tractor and mower gauge systems, the needle should move if the gauge and power feed are working.
If the needle moves, the gauge likely works and the sender is suspect. If nothing happens, the problem may be in the gauge, the fuse, or the wiring between the dash and the sender.
Do this test carefully and only for a short moment. You are checking the circuit, not trying to run the machine this way.
What a multimeter can tell you
A multimeter helps you separate electrical faults from mechanical ones. You can check for voltage at the gauge, continuity in the sender wire, and resistance changes at the sender.
For example, if power reaches the gauge but the sender wire shows an open circuit, the wire is likely damaged. If the sender resistance never changes with heat, the sender itself may be faulty. If the gauge receives power and ground but still does not respond, the gauge is the likely failure.
You do not need advanced electronics knowledge for these tests. A basic meter and a careful approach are enough for most owners.
Fixes for the most common problems
Clean and tighten all connections
Start with the simple fix. Disconnect the battery first, then inspect the sender terminal, gauge connector, fuse contacts, and any nearby ground points. Clean corrosion with contact cleaner or a small wire brush.
After cleaning, reconnect everything firmly. A loose spade terminal can create exactly the kind of random gauge behavior people blame on bad parts.
Repair damaged wiring
If you find a cracked wire or broken connector, repair it properly. Do not just twist the wire together and wrap it with tape. Use a quality crimp connector or soldered joint with heat-shrink tubing.
Grass mowers vibrate a lot, so weak repairs fail fast. A good repair should be sealed, strain-relieved, and routed away from hot or moving parts.
Replace the temperature sender
If the sender fails the resistance check or the gauge reacts correctly when grounded but not when connected to the sender, replace the sender. Use the correct part for the ZD326, because senders can differ in thread size, resistance range, and connector style.
One non-obvious point: installing the wrong sender can create a gauge that moves, but reads inaccurately. That can be worse than a dead gauge because it gives false confidence.
Replace the gauge only after testing
Replace the dash gauge only after the circuit points to it. If the gauge does not respond to a grounded sender wire and power is present at the cluster, the gauge is likely bad.
When replacing it, double-check the pinout and connector fit. A new gauge will not help if the wrong terminal is powered or grounded.
Check the cooling system if the engine is actually hot
If the mower shows real overheating, do not stop at the gauge. Clean the radiator screen, check the fan belt or drive system if equipped, inspect coolant level, and remove grass buildup from the cooling fins and radiator area.
For tractor and mower cooling-safety basics, the official tractor safety guidance from the U.S. Consumer Product Safety Commission is a useful reference for safe operation and inspection habits.
Heat problems and gauge problems can exist at the same time. Fixing one does not rule out the other.
How to tell gauge failure from an engine overheating issue
This is where many owners get stuck. A dead gauge and a hot engine can look similar if you only watch the dash. Use the table below to compare the signs.
| Symptom | More likely gauge problem | More likely overheating problem |
|---|---|---|
| Needle stays at cold all the time | Yes | Sometimes |
| Needle jumps when hitting bumps | Yes | No |
| Steam or coolant smell | No | Yes |
| Engine loses power after 20 to 30 minutes | Maybe | Yes |
| Gauge works only after vibration or tapping | Yes | No |
| Radiator and fins are packed with debris | No | Yes |
A simple infrared thermometer can also help. Measure the engine area carefully after the machine has warmed up. If the metal is clearly hot but the gauge reads cold, the gauge circuit is at fault. If the engine is truly overheating, stop using the mower until the cooling system is fixed.
That separation saves time. It also keeps you from replacing expensive electrical parts when the real issue is airflow or coolant loss.

Credit: justanswer.com
Common mistakes that make the problem harder
One common mistake is replacing the gauge before checking the sender wire. A loose or corroded terminal can mimic a dead gauge almost perfectly.
Another mistake is forgetting the battery and ignition feed. If the dash does not have stable power, the gauge cannot work correctly, even if the sender is new.
Owners also sometimes test with the engine running and moving parts exposed. That is unsafe and unnecessary. Most gauge checks can be done with the key on and the engine off.
Finally, people sometimes ignore intermittent problems because the gauge “came back” for a day. That is usually a sign of a weak connection. Intermittent faults rarely fix themselves for good.
When to stop and call a professional
Call a qualified mower technician if you find repeated fuse blows, melted wiring, a damaged dash cluster, or signs that the engine is truly overheating. You should also get help if the wiring harness has been repaired many times and the fault keeps coming back.
Do not keep running the mower if the temperature reading is unknown and the engine shows heat symptoms. A small cooling issue can become a bigger engine repair very quickly.
If you are unsure about electrical diagnosis, a shop can test the sender circuit in a short time. That is often cheaper than replacing multiple parts by guesswork.
Best way to prevent the problem from returning
The best prevention is simple maintenance. Keep the radiator screen, cooling fins, and engine bay clean. Check connectors during regular service. Make sure the battery is secure so vibration does not stress the wiring.
It also helps to inspect the dash wiring at the start of mowing season. A 10-minute inspection can catch cracked insulation, loose grounds, and corrosion before they become a no-read gauge.
On equipment like the ZD326, heat, dust, and vibration work together to wear out small electrical parts. That is why a clean wiring harness often matters more than a brand-new sender.
Credit: reddit.com
Final takeaway for the Kubota ZD326 temperature gauge
If your Kubota ZD326 temperature gauge not working, start with the sender wire, ground, fuse, and gauge power before replacing parts. In most cases, the fault is a simple electrical issue rather than a major cooling failure.
Work from the easiest checks to the more specific tests. If the gauge responds when the sender wire is grounded, the sender is likely bad. If nothing happens, focus on power, ground, or the gauge itself. And if the engine is actually hot, deal with the cooling system first.
A careful, step-by-step diagnosis will save time, money, and stress. It also helps you avoid the biggest mistake of all: trusting a dead gauge when the engine may be running too hot.
After the main fault is fixed, run the machine briefly under light load and recheck the related belt, wiring, fuel, fluid, and safety-switch areas before returning it to normal work.
FAQs
Why does my Kubota ZD326 temperature gauge stay on cold?
The most common reasons are a bad sender, a broken sender wire, or a poor ground. A failed gauge or blown fuse can also cause the needle to stay at cold all the time.
Can I keep using the mower if the temperature gauge does not work?
Only if you have checked for real overheating and confirmed the engine is running normally. If you are not sure, stop using it until the gauge problem is diagnosed.
How do I test the temperature sender on a Kubota ZD326?
You can disconnect the sender wire and test the circuit with a multimeter, or briefly ground the sender wire with the key on to see if the gauge needle moves. If it does, the sender is usually the problem.
What if the gauge jumps around while mowing?
That usually points to a loose connector, bad ground, or damaged wire. Vibration and heat often make an already weak connection fail more often.
Should I replace the gauge or sender first?
Replace the sender first only if the gauge passes the ground test. If the gauge does not respond at all during testing, check power and wiring before buying a new sender.