
A Kawasaki fuel pump test helps you find the real cause of hard starting, sputtering, stalling, or a crank-no-start problem before you replace the wrong part. On many Kawasaki engines, the issue is not the pump itself, but a clogged filter, weak voltage, bad relay, cracked hose, or contaminated fuel.
The good news is that fuel delivery problems are usually diagnosable with a few simple checks. You do not need to guess. With a multimeter, a fuel pressure gauge, and a careful step-by-step process, you can separate an electrical fault from a fuel system fault fast.
This guide shows how to test the fuel pump, read the results, and fix the most common Kawasaki fuel delivery failures. It also explains the clues that beginners miss, so you can avoid replacing parts that still work.
For wider troubleshooting context, compare this guide with Kawasaki Fuel Pump Problems: Symptoms, Causes, and Fixes, Kawasaki fuel pump problems, Kawasaki FX1000V problems.
Start with the symptoms that point to fuel delivery
Before you touch the pump, confirm that the problem really fits a fuel delivery issue. A weak ignition coil, bad spark plug, or air restriction can look similar at first. But fuel problems usually show a pattern that gets worse under load or after a few minutes of running.
The most common signs are hard starting, engine surging, sputtering at higher throttle, dying after a short run, or starting only when you spray starting fluid. If the engine runs briefly on starting fluid, you are usually dealing with fuel delivery, not spark.
One useful clue is timing. If the engine starts cold, then fades after 5 to 15 minutes, think about a weak pump, clogged filter, tank vent problem, or heat-related electrical failure. If it dies when you mow uphill or under load, the pump may be struggling to maintain pressure.
Quick checks before testing the pump
- Make sure there is fresh fuel in the tank.
- Check that the fuel shutoff valve is open, if your model has one.
- Inspect the fuel cap vent. A blocked vent can create a vacuum in the tank.
- Look for cracked or loose fuel hoses.
- Check the fuel filter for dirt, water, or debris.
A simple vent test can save time. If the engine improves with the gas cap loosened, the tank may not be venting properly. That is not a pump failure, but it can create the same symptoms.
Tools and safety steps before a Kawasaki fuel pump test
You do not need a full shop to diagnose most fuel delivery problems, but you do need the right tools. A good test depends on clean measurements, not guesswork.
Have these items ready: a digital multimeter, a fuel pressure gauge that matches the engine setup, basic hand tools, clean rags, and safety glasses. If you are working around fuel, keep sparks, cigarettes, and hot surfaces far away.
For general fuel safety guidance, the EPA guidance on gasoline handling is a useful reference for safe storage and handling practices.
What you are testing for
A fuel pump diagnosis usually answers three questions. Is the pump getting power? Is the pump moving fuel? Is the system making enough pressure and flow for the engine to run correctly?
Those are different checks. A pump can have voltage and still fail under load. It can sound normal and still move too little fuel. That is why the best test is not one measurement, but a few measurements together.
What most people miss
- A pump that buzzes is not always a good pump.
- Low battery voltage can make a weak pump look bad.
- A clogged filter can mimic pump failure almost exactly.
- Heat and vibration can create intermittent faults that only show up during operation.
Kawasaki fuel pump test steps you can follow
The best Kawasaki fuel pump test starts with electrical power, then moves to flow and pressure. That order keeps you from swapping parts too early. If the pump is not receiving the correct voltage, a pressure test alone will not tell the full story.
1. Check battery voltage first
A weak battery can change every result. Measure battery voltage with the engine off. A healthy fully charged 12-volt battery should usually read around 12.6 volts. If it is much lower, charge or replace the battery before testing the pump.
Then crank the engine while watching voltage. If it drops too low during cranking, the pump may not have enough power to work correctly. This matters more than many owners realize, because a pump that runs on a charger can fail on a weak battery.
2. Confirm power at the fuel pump connector
Unplug the fuel pump connector and check for battery voltage at the harness side while the key is on or during cranking, depending on the model’s control logic. Some Kawasaki systems only prime briefly, so the voltage may appear for just a moment.
If you see no voltage, the pump may be innocent. The fault could be a blown fuse, bad relay, damaged wire, safety switch issue, or ECU control problem. If voltage is present but the pump does not run, the pump itself or its ground circuit is the next suspect.
3. Listen for the prime
Many electric pumps make a short buzzing or humming sound when the key turns on. That prime sound tells you the pump is trying to build pressure. No sound does not automatically mean failure, but it is a strong clue.
If the pump is silent, tap lightly on the tank area once, then retest. If the pump briefly comes alive, the pump brushes or armature may be worn. That is a common sign of a pump near the end of its life.
4. Test fuel pressure
Connect a fuel pressure gauge if your Kawasaki setup allows it. Pressure specs vary by model, so use the correct service information for your engine. On many small EFI systems, pressure is often in the 35 to 45 psi range, but do not assume a number without checking your exact model.
If pressure is below spec, disconnect the return line only if the system design allows it and follow proper service procedures. Low pressure can mean a weak pump, restricted filter, kinked line, poor ground, or failed regulator. High pressure usually points to a blocked return or regulator issue rather than a bad pump.
5. Check fuel flow, not just pressure
Pressure alone can be misleading. A pump may build pressure with no load, then collapse when the engine asks for more fuel. Flow testing shows whether enough fuel reaches the engine over time.
If your system design allows a safe flow test, run the pump into an approved container for a short time and compare the result with service data. Weak volume with decent pressure often means the filter is restricted or the pump is tired.
6. Inspect voltage drop on the ground side
One of the most overlooked problems is a bad ground. A pump needs a clean, low-resistance ground to work properly. Use your multimeter to measure voltage drop across the ground side while the pump runs.
Too much drop means resistance in the ground path. Corroded connectors, loose terminals, rust, or damaged wiring can all rob the pump of strength. This is a classic hidden failure because the pump may still “run” while delivering too little fuel.
How to tell whether the pump, filter, or wiring is failing
Once you have numbers, the diagnosis becomes easier. The pattern of results usually points to one of three areas: power supply, fuel restriction, or pump wear. That is where real troubleshooting starts.
| Test result | Most likely cause | What it means |
|---|---|---|
| No voltage at pump | Wiring, fuse, relay, safety circuit | The pump may be fine, but it is not being powered |
| Voltage present, no pump sound | Pump motor failure or bad ground | The pump may be seized, worn, or unable to complete the circuit |
| Pump runs, low pressure | Clogged filter, weak pump, leak, bad regulator | Fuel is moving, but not enough for the engine |
| Good pressure, engine still dies | Intermittent wiring, heat issue, injector problem | The fault may appear only under load or after warming up |
Here is the tricky part: a clogged filter can make a healthy pump look weak. A fuel pump under restriction may sound normal at idle, but pressure falls when demand rises. Many beginners replace the pump first and discover the old pump was not the real problem.
Another non-obvious issue is tank contamination. Rust flakes, dirt, or old fuel can clog the pump strainer and damage the pump wheel or diaphragm. If the tank has debris, replacing only the pump may not last long.

Credit: mrmotorproblems.com
Common fixes after a failed Kawasaki fuel pump test
Once the test points to the problem, move from simple fixes to bigger repairs. Start with the lowest-risk items first. In many cases, the real fix is cheaper and easier than the pump replacement people expect.

Credit: mrmotorproblems.com
Replace the fuel filter
If the filter is dirty or unknown, replace it first. A restricted filter can cut flow enough to create stalling, hesitation, and hard starting. It is one of the most common reasons an engine acts like the pump is weak.
After replacing the filter, repeat the pressure or flow test. If performance returns to normal, you have confirmed the restriction problem without replacing the pump.
Repair wiring, fuse, or relay issues
If power does not reach the pump, inspect the fuse, relay, connectors, and harness routing. Look for melted insulation, loose pins, green corrosion, or broken wires near vibration points.
Sometimes the issue is simple. A relay can click but still fail internally. A connector can look fine outside while the terminal inside is oxidized. That hidden corrosion is enough to starve the pump of current.
Clean or replace the pump strainer
The strainer is the small screen that protects the pump from dirt. If it is clogged, fuel cannot enter the pump freely. A dirty strainer often appears in tanks with old fuel, water contamination, or rust.
If the tank is dirty, clean it before installing a new strainer or pump. Otherwise, the new parts may fail early.
Replace the pump when it truly fails
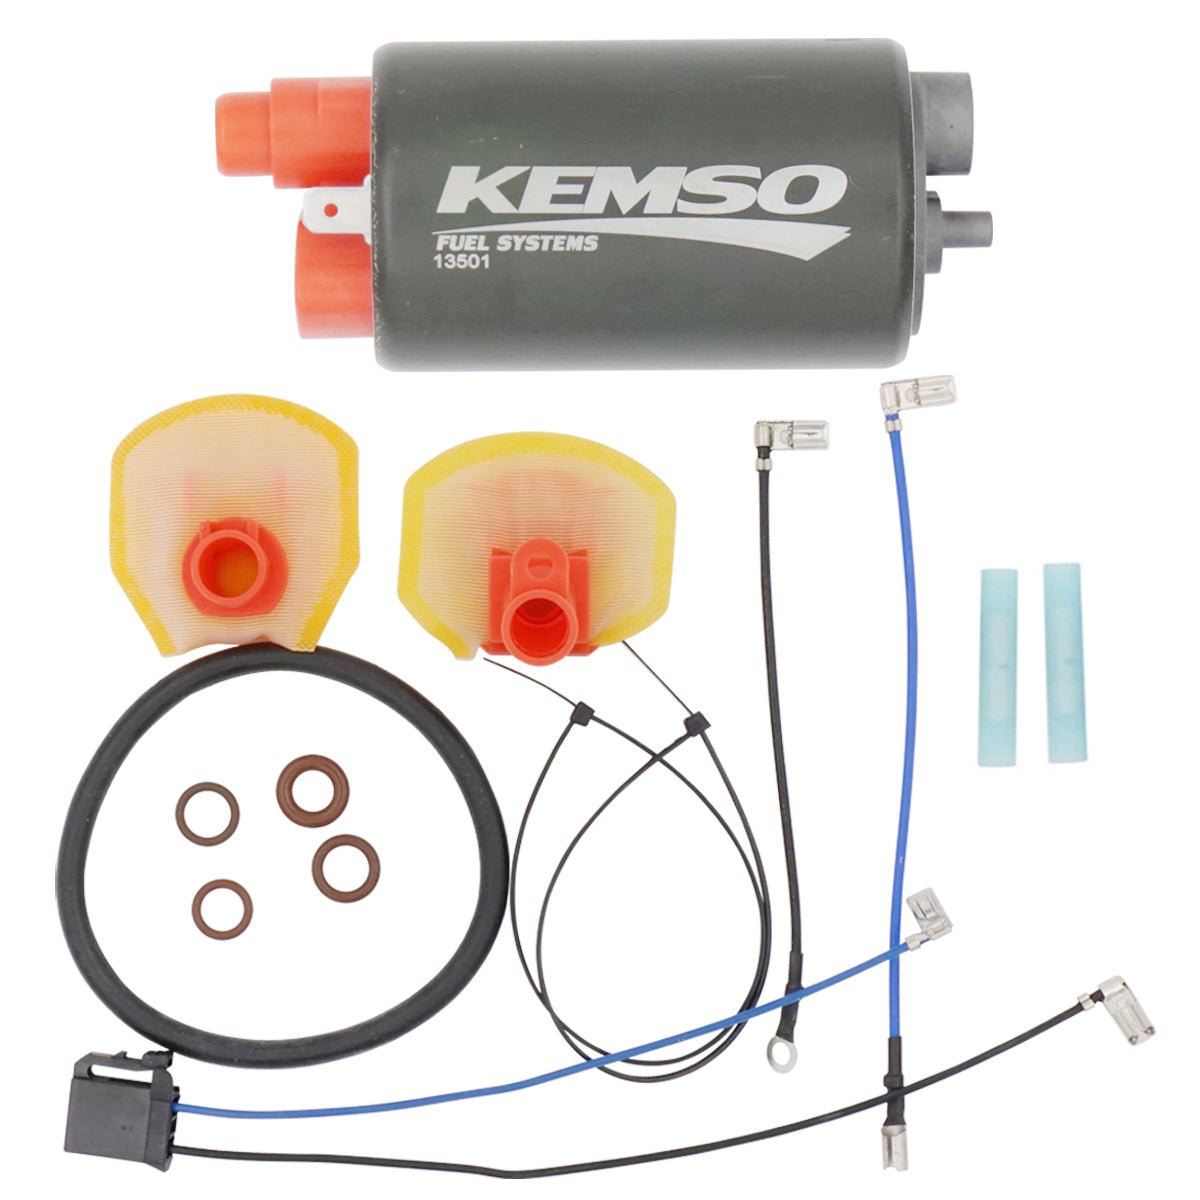
If the pump has correct power and ground, but pressure and flow stay low, replacement is usually justified. A worn pump may still run, but the internals no longer move enough fuel.
When replacing the pump, inspect the hoses and clamps at the same time. A new pump cannot fix a cracked hose that leaks air or fuel. That leak can cause the same symptoms all over again.
Why fuel pressure can look normal and still cause trouble
This is one of the most misunderstood parts of fuel diagnosis. A gauge can show acceptable pressure at idle while the engine still stalls on acceleration or under load. That happens because fuel demand changes quickly, and a marginal pump cannot keep up.
Small engines and EFI systems are sensitive to voltage drop, heat, and weak supply lines. A pump that works for 30 seconds may fail after 10 minutes when its internal parts warm up. That is why symptom timing matters as much as the measurement itself.
If your engine only fails after it warms up, test it again during the failure. Cold tests can miss an intermittent problem. A good rule is to reproduce the fault first, then measure while it is happening.
Signs of an intermittent fuel delivery problem
- Engine restarts after cooling down.
- Problem appears only during long mowing sessions.
- Fuel pump sound changes as the engine warms up.
- Engine recovers when the throttle is reduced.
Intermittent faults can be the most frustrating, but the pattern usually tells the story. Heat, vibration, and fuel slosh can expose weak wiring or a failing pump that bench tests do not catch.
When to stop testing and call for service
Some problems are worth a deeper repair, especially if fuel leaks, damaged tank fittings, or internal fuel system faults are involved. Stop and get help if you find raw fuel dripping, wiring that is melted, or a tank that must be removed to access the pump safely.
You should also call a professional if the engine has repeated electrical failures, ECU-related faults, or if you do not have the correct pressure specifications for your exact Kawasaki model. Guessing on a modern EFI system can get expensive fast.
If you want the official service path for your machine, use the manufacturer support page to locate manuals and model-specific guidance.
Prevent the same fuel problem from coming back
Once the repair is done, a few habits will keep the fuel system healthy. Fresh fuel matters more than many owners think. Old gasoline can form varnish and cause sticky valves, dirty filters, and pump wear.
Use clean fuel, keep the tank sealed, and avoid leaving water-contaminated fuel in the system. If the machine will sit for weeks or months, stabilize the fuel or drain it according to the model recommendations.
Check the filter regularly and inspect the tank vent and hoses during routine maintenance. A 10-minute inspection can prevent a long troubleshooting session later.
Credit: kawiforums.com
Final take
A proper Kawasaki fuel pump test is not just about hearing the pump run. It is about checking voltage, ground, pressure, and flow together so you can find the real cause of the failure. That approach saves time, money, and frustration.
In many cases, the pump is not the first thing to fail. Filters, vents, relays, and weak wiring often create the same symptoms. Test in order, fix the actual fault, and your Kawasaki engine will usually return to clean, steady fuel delivery.
After the main fault is fixed, run the machine briefly under light load and recheck the related belt, wiring, fuel, fluid, and safety-switch areas before returning it to normal work.
FAQs
1. How do I know if my Kawasaki fuel pump is bad?
The most common signs are hard starting, sputtering, stalling, or no fuel pressure at the rail or outlet. If the pump has power and ground but still gives low pressure or low flow, the pump is likely failing.
2. Can a clogged fuel filter look like a bad fuel pump?
Yes. A clogged filter can reduce fuel flow enough to cause the same symptoms as a weak pump. That is why the filter should always be checked before replacing the pump.
3. What voltage should a Kawasaki fuel pump receive?
It depends on the model, but most 12-volt systems should see near battery voltage at the pump circuit when it is operating. A large voltage drop usually points to wiring, relay, fuse, or ground problems.
4. Why does my Kawasaki engine run for a few minutes and then die?
This often points to a fuel supply problem that gets worse as parts warm up. Common causes include a weak pump, clogged filter, tank vent issue, or failing electrical connection.
5. Should I replace the fuel pump if it makes noise?
Not always. A noisy pump can still work, and a quiet pump can still fail under load. The real answer comes from pressure, flow, and voltage testing, not sound alone.