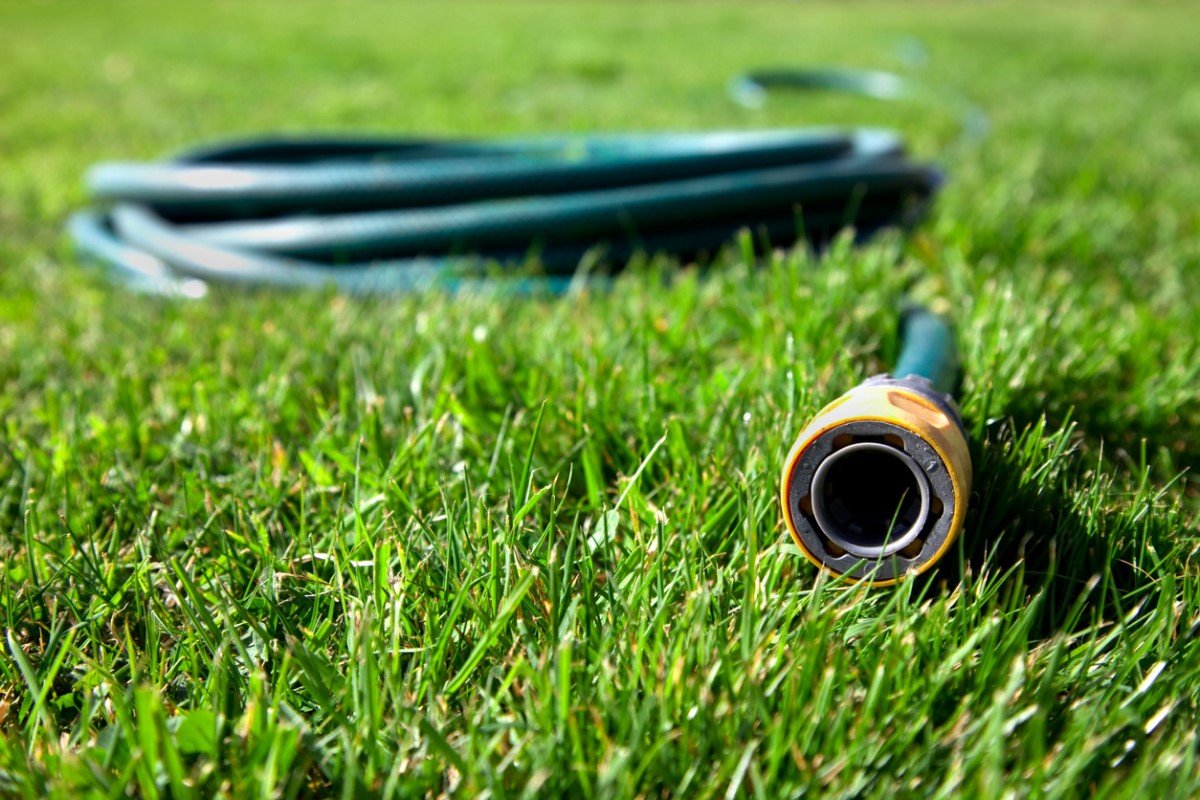
A leaking hose does not always need replacement. In many cases, how to fix a garden hose is a simple repair job you can finish in 10 to 30 minutes with a knife, a screwdriver, and a hose repair kit.
The good news is that most hose problems come from a few common issues: cracked ends, small holes, loose fittings, and tight bends. Once you know which problem you have, the fix is usually straightforward. You can stop wasted water, restore pressure, and keep using the hose for several more seasons.
Below, you will find practical steps for leaks, holes, and kinks, plus the tools you need, the mistakes to avoid, and how to decide when a hose is worth repairing versus replacing.
Start by finding the exact problem
Before you cut anything or buy parts, inspect the hose carefully. A small leak at the connector needs a different repair than a split in the middle or a hose that keeps twisting shut. Finding the exact failure saves time and keeps you from fixing the wrong spot.
Uncoil the hose fully and run water through it. Watch for sprays, drips, bulges, and weak spots. If the hose only leaks when it bends, the damage may be hidden inside the outer layer. If it only leaks near the spigot or nozzle, the washer, clamp, or fitting is usually the real problem.
| Problem | Common sign | Typical fix |
|---|---|---|
| Leaky end fitting | Water sprays near the connector | Replace washer or clamp on a new fitting |
| Small hole | Narrow spray from one spot | Patch it or cut out the damaged section |
| Split hose | Visible crack or open tear | Use a hose mender or replace the damaged section |
| Kinked hose | Water flow drops sharply at a bend | Prevent tight bends, add a reel, or replace worn hose |
One useful trick: mark the leak with tape while the hose is pressurized, then shut off the water before repairing it. That makes the damage easier to find again after you drain the hose.
Gather the tools and parts before you begin
Most repairs need only a few basic items. If you have them ready first, the job goes faster and you are less likely to make a sloppy cut or lose a small part.
- Utility knife or sharp garden shears
- Screwdriver
- Replacement hose washers
- Hose repair couplers or menders
- Hose clamps, if the repair kit uses them
- Ruler or tape measure
- Bowl or bucket for draining water
- Clean rag
For the hose itself, match the size. Most garden hoses are 5/8 inch, but 1/2 inch and 3/4 inch hoses also exist. If the fitting size is wrong, the repair may leak even if you install it correctly.
It also helps to know the hose material. Rubber hoses are tougher to cut but hold up well. Vinyl hoses are lighter and easier to work with, but they crack more easily after sun exposure. That matters because some repairs last longer on one type than the other.
Fix leaks at the hose ends first
End leaks are the easiest and most common repair. In many cases, the problem is not the hose body at all. It is a worn washer, a loose clamp, or a damaged fitting where the hose connects to the spigot or nozzle.
Replace a worn washer
Turn off the water and disconnect the hose. Inside the female end, you will usually find a rubber washer. If it looks flat, cracked, or missing, replace it. This tiny part often solves a leak in under 2 minutes.
Push the new washer into place with a screwdriver tip or your finger. Make sure it sits flat. A twisted washer can still leak, even if it is new.
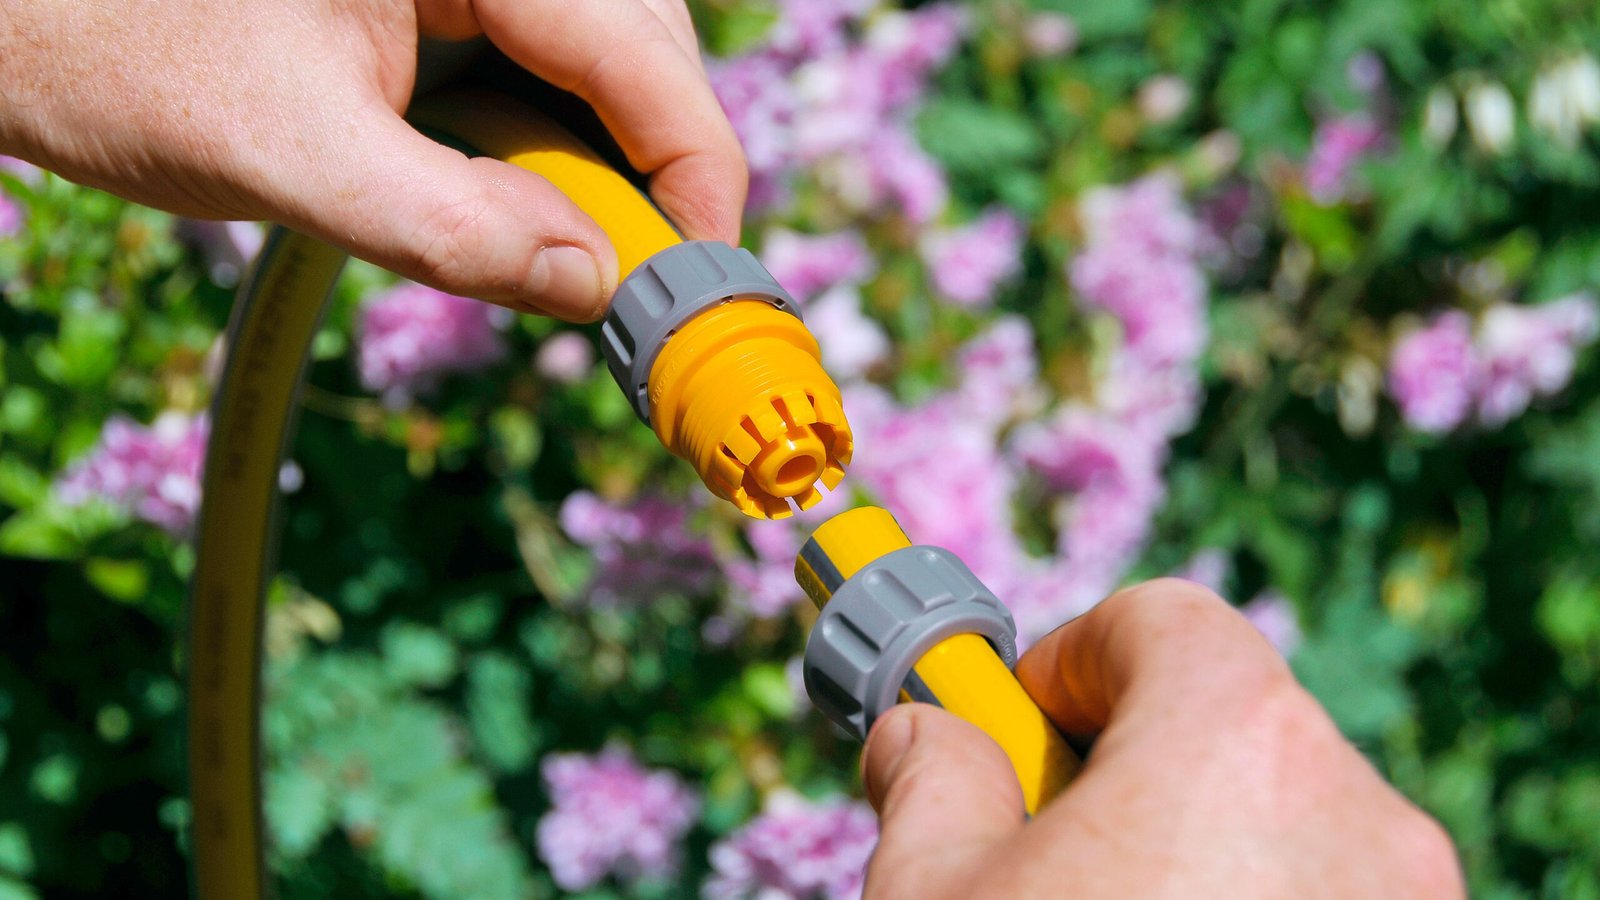
Replace a damaged end fitting
If the metal or plastic end is cracked, the best fix is a new hose repair connector. Cut off the damaged end with a clean, square cut. Then slide the new fitting onto the hose and tighten the clamp or follow the kit instructions.
Do not cut at an angle. A slanted cut makes it harder to seal, and the hose can slip out under pressure. A straight cut gives the connector a better grip and reduces the chance of another leak later.
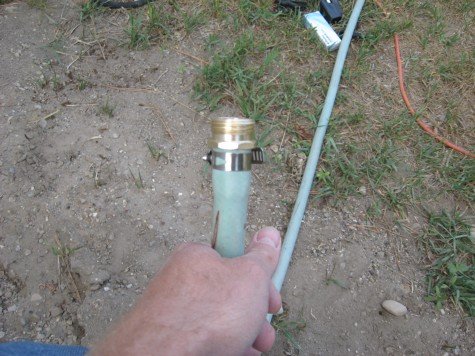
Use a hose repair mender
A repair mender joins a damaged hose end to a new fitting or reconnects two hose sections. Choose a mender that matches the hose diameter. If the hose wall is very soft, check that the clamp bites securely without crushing the tube.
After installation, turn the water on slowly first. A sudden full-pressure test can pop a weak repair loose before you know it is holding.
Patch small holes and cracks in the hose body
Small holes in the middle of the hose can often be repaired if the damage is limited. If the hole is tiny and the surrounding hose is still flexible, a patch or mender can extend the hose’s life. If the hose is brittle across a large area, replacement may be smarter.
Credit: gardeningetc.com
Use a hose patch kit
Some kits use adhesive patches, but the most reliable repair for a garden hose is usually a cut-out and reconnect method. Cut out the damaged section, then join the two ends with a coupler. This removes the weak spot instead of covering it.
Measure the damaged area carefully. If you remove 2 inches of hose, you need enough slack to reconnect both ends without forcing a new bend. That small detail matters more than many people expect.
Cut and splice the hose
- Drain the hose completely.
- Mark the damaged section with tape.
- Make two clean, square cuts on each side of the hole.
- Slide hose clamps onto each end if your kit uses them.
- Insert the coupler fully into both hose ends.
- Tighten the clamps evenly.
- Run water and check for seepage.
This method works best when the hole is not near an end and the hose has enough extra length to lose a few inches. It is also cleaner than wrapping tape around a pressurized leak, which usually fails after a short time.
When a patch is not enough
If the hose has multiple soft spots, several pinholes, or cracks that reappear when the hose bends, patching will only delay the problem. A hose that leaks in three places usually has material fatigue, not one isolated defect.
That is one of the less obvious signs beginners miss. A single visible hole may be the symptom, but the real issue may be sun damage, age, or repeated freezing. In that case, repairing one spot only buys a little time.
Handle kinks before they damage the hose
Kinks are not just annoying. They restrict water flow and create stress points that can turn into cracks. If a hose keeps folding in the same place, the inner layers may already be weakening.
First, straighten the hose completely and look for permanent bends. A hose that stays curved even after uncoiling is often starting to fail. If it kinks every time you move it, the hose may be too stiff, too old, or wound too tightly on storage.
Reduce tight bends
Use the hose in wider loops, not sharp corners. Keep it away from fence posts, pot edges, and rough pavement that force sudden angles. At the faucet, install a short swivel connector or anti-kink connector if the hose constantly folds at the spigot.
At the nozzle end, avoid pulling the hose sideways while watering. That sideways tug is a common reason a hose kinks near the last 3 to 4 feet.
Use a hose reel or hanger correctly
Many kinks happen during storage, not use. If a hose is wound too tightly on a small reel, the inner curve becomes stressed. Use a reel with a wide drum or hang the hose in large loops.
Leave the hose fully drained before storing it. Water left inside can add weight and make the hose settle into a permanent bend.
Know when kinks mean replacement
If the hose kinks in the same place every time, that area is probably damaged. You may be able to cut out the bad section and splice it back together, but only if the hose is still long enough after the repair.
There is a practical limit here. If you keep removing sections and the hose gets too short to reach the garden, replacement becomes the better choice. A hose that is already stiff and patchy often costs more in time than it saves in repair.
Avoid the mistakes that make repairs fail
Many hose repairs fail for simple reasons, not because the hose was impossible to fix. A clean cut, the right size fitting, and proper tightening make a big difference. Small mistakes can create new leaks immediately.
Credit: bobvila.com
Do not reuse damaged ends
If the end of the hose is crushed, split, or stretched out, cut it off. Trying to force a connector onto damaged material often leads to a slow leak that gets worse under pressure.
Do not overtighten clamps
Overtightening can cut into the hose wall. The seal may hold at first, but the hose can fail later near the clamp. Tighten until secure, then test under water pressure. If the connector still moves, tighten a little more.
Do not ignore freezing damage
Frozen water can expand and crack hoses from the inside. A hose may look fine until pressure opens the split. If you live in a cold climate, drain and store hoses indoors before the first freeze.
This is where many people lose the hose without realizing why. The leak shows up in spring, but the damage happened months earlier in winter.
Do not wrap tape around a pressurized leak
Tape can help as a temporary emergency fix, but it is not a real repair. Water pressure and hose flexing quickly weaken most taped patches. Use tape only to get through a single watering session, then make a proper fix.
For basic hose safety guidance, the CPSC home safety resources are a helpful reference for general household repair caution and safe tool use.
Decide whether to repair or replace the hose
Not every hose is worth saving. The best choice depends on age, number of leaks, and how much of the hose is still sound. A good repair makes sense when the hose is otherwise flexible and the damage is limited to one or two spots.
Here is a simple way to think about it:
- Repair if the hose has one hole, one bad fitting, or one damaged end.
- Repair if the hose is still flexible and the inner wall is not cracking.
- Replace if there are multiple leaks in different places.
- Replace if the hose has become stiff, brittle, or permanently kinked.
- Replace if repairs would shorten the hose too much for normal use.
One non-obvious sign of age is color fade plus stiffness. A hose that has lost color from sun exposure is often also losing flexibility. Once the material dries out, new leaks usually show up faster after each repair.
If your hose is only a few feet from being too short, replace it before it becomes frustrating to use. A hose that barely reaches the bed, tree, or spigot usually creates more problems than it solves.
Keep the hose in better shape after the repair
A repair lasts longer when you change how you use and store the hose. That sounds simple, but it is often the difference between one-season and multi-season results.
Drain the hose after each use. Store it out of direct sun when possible. Sunlight speeds up cracking, especially on vinyl hoses. Even a cheap wall hanger in a shaded spot can help.
Also, avoid dragging the hose across sharp edges. Brick corners, metal edging, and rough concrete wear through the outer layer faster than normal grass or soil.
Credit: ourstoneyacres.com
Quick maintenance habits that help
- Check washers at the start of each season.
- Inspect both ends after winter storage.
- Uncoil the hose fully before turning water on.
- Keep the hose off hot driveways when possible.
- Replace worn connectors before they split the hose end.
These small habits prevent the most common damage patterns. They also save water, because a hose with a slow leak can waste far more than people realize over a full season.
If you keep the hose clean, drained, and loosely stored, you can usually get much more life out of it. That is the real goal of how to fix a garden hose: not just stopping one leak, but making the next one less likely.
FAQ
How do I fix a garden hose that leaks at the faucet end?
Start by replacing the rubber washer inside the fitting. If that does not stop the leak, cut off the damaged end and install a new repair connector with the correct hose size.
Can I repair a hole in the middle of a garden hose?
Yes, if the damage is small and the hose is still flexible. The most reliable repair is to cut out the damaged section and reconnect the two ends with a coupler and clamps.
Why does my hose keep kinking in the same spot?
That spot is usually worn, overbent, or weakened by age. Try a wider storage loop or a swivel connector, but if the kink keeps returning, the hose may need replacement.
Will duct tape permanently fix a leaking hose?
No. Tape can help as a short emergency fix, but it usually fails once water pressure and movement return. A proper fitting or splice is much more reliable.
When should I replace a hose instead of repairing it?
Replace it when there are several leaks, the hose is stiff or brittle, or repairs would make it too short to use comfortably. If the hose is old and cracking in multiple places, replacement is usually the better choice.