
Dirty pruners do more than look bad. They can spread plant disease, crush stems, and make every cut harder than it should be. Knowing how to clean garden pruners is one of the simplest ways to keep plants healthier and tools working longer.
The good news is that proper cleaning takes only a few minutes, and you do not need special equipment for most jobs. A little soap, a brush, and a few smart habits can prevent rust, remove sap, and keep the blades cutting cleanly season after season.
Below, you will find a practical cleaning routine, when to disinfect, how to remove sticky buildup, and how to store pruners so they stay sharp and ready for the next cut.
What to gather before you start
Before cleaning, collect everything in one place so you do not stop halfway through. A simple setup helps you work faster and keeps water from sitting on the metal too long.
You do not need a full repair bench. For most pruners, a small bucket and a few common supplies are enough. The goal is to remove dirt, sap, and moisture without damaging the blade edge or the pivot joint.
- Warm water
- Mild dish soap
- Small nylon brush or old toothbrush
- Clean cloths or paper towels
- Rubbing alcohol or disinfecting wipes
- Light oil, such as mineral oil or tool oil
- Fine steel wool or a plastic scraper for heavy sap
- Gloves, if the blades are very sharp or dirty
If your pruners are very dull, bent, or rusty, cleaning will still help, but it will not fix everything. A clean tool gives you a better view of what shape it is really in.
How to clean garden pruners step by step
The fastest method works for most hand pruners after normal garden use. Start with dry debris, then move to washing, then finish with drying and oiling. That order matters because water on top of dirt just spreads the mess around.
-
Wipe off loose dirt first.
Use a dry cloth or paper towel to remove soil, grass, and plant bits from the blades, handles, and springs. If you skip this step, mud can turn into a paste when wet and get pushed deeper into the pivot.
-
Wash with warm soapy water.
Dip a cloth or brush in warm water with a few drops of dish soap. Scrub the blades, hinge, spring, and handle joints. Keep the pruners closed while wiping the outside, then open them to clean the inside edges and pivot area.
-
Remove sticky sap.
For sap, rub the area with rubbing alcohol on a cloth. If the buildup is thick, let the alcohol sit for 30 to 60 seconds, then scrub again. A plastic scraper or a little fine steel wool can help, but use light pressure so you do not scratch the blade badly.
-
Rinse only if needed, then dry fully.
If you used soap, a light rinse is fine, but do not soak the tool. Dry every part right away with a clean cloth. Moisture left in the pivot or around the spring is one of the fastest ways to create rust.
-
Oil the moving parts.
Put a drop or two of oil on the pivot, spring, and blade faces. Open and close the pruners several times to spread it. Then wipe away extra oil so it does not collect dust and grit.
This whole process usually takes 5 to 10 minutes for a lightly dirty tool. If sap has hardened or rust has started, expect 15 to 20 minutes.
A quick method for pruners used on healthy plants
If you cut only clean, healthy stems, a fast wipe-down may be enough. Clean the blades with soapy water, dry them, and add a thin coat of oil. This keeps the tool ready without overworking the metal.
Even then, do not skip cleaning the pivot. Most cutting problems start there, not on the outer edge. A sticky hinge makes the blades misalign, and misalignment can make even a sharp pruner feel dull.
When you should disinfect instead of just cleaning
Soap removes dirt. Disinfecting removes many disease organisms that can move from plant to plant. You should disinfect pruners after cutting diseased branches, especially if you worked on roses, fruit trees, tomatoes, or any plant with visible cankers, mold, or blackened stems.
Rubbing alcohol is a simple option for this job. Wipe the blade with alcohol, or use a disinfecting wipe and let the metal stay wet for the recommended contact time. For most home gardeners, this is enough and easier than mixing stronger chemicals.
One useful rule: clean after normal pruning, disinfect after sick plants. That small habit lowers the chance of carrying problems through the rest of the garden.
For additional safety guidance on disinfecting garden tools, the university extension guidance on tool sanitation is a good reference point.
How to remove sap, rust, and grime without hurting the blades
Not all buildup is the same. Fresh sap, old sticky residue, and rust each need a slightly different approach. Using the wrong method can waste time or scratch the blade more than necessary.
Fresh sap is easiest to remove with alcohol or warm soapy water. Hard sap usually needs a little soak time. Rust is different because it is bonded to the metal surface, so it needs gentle abrasion and patience.
| Problem | Best first step | What to avoid |
|---|---|---|
| Fresh sap | Alcohol wipe and cloth | Heavy scraping right away |
| Hardened sap | Soak with alcohol for 30–60 seconds | Long water soaking |
| Light rust | Fine steel wool with oil | Coarse sandpaper or hard wire brushing |
| Soil and grit | Soap and nylon brush | Dry scrubbing that grinds grit into the blade |
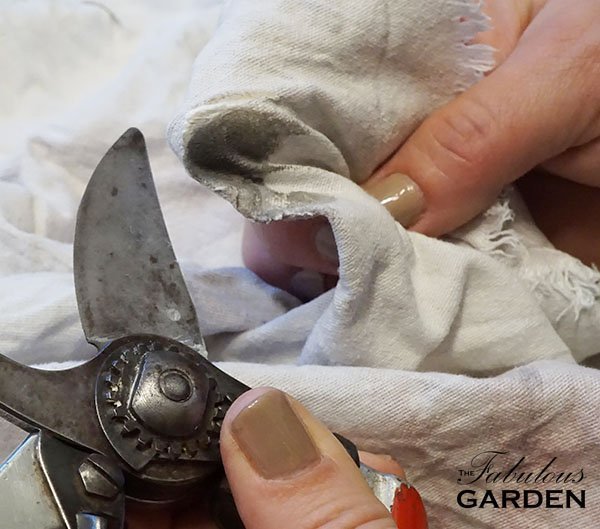
One thing many gardeners miss: rust often forms first inside the joint, not on the visible blade. If your pruners feel stiff, open them wide and inspect both sides of the pivot before you assume the blade is the only problem.
Credit: thefabulousgarden.com
How to treat light rust
Light orange rust can often be removed without sharpening the tool. Put a few drops of oil on the rusty spot, then rub gently with fine steel wool or a non-scratching pad. Work in small circles and stop as soon as the surface looks smooth again.
If rust returns quickly, the tool may be stored while still damp or in a place with high humidity. In that case, cleaning alone will not solve the problem. Drying and storage habits matter just as much as the scrub itself.
When the blade needs more than cleaning
If the edge is nicked, bent, or heavily pitted, cleaning will improve performance but not restore a true cutting edge. A sharp blade should slice stems cleanly, not crush them. If you see torn plant tissue after each cut, the tool may need sharpening or replacement parts.
That matters because crushed stems heal slowly and can invite disease. Clean pruners are good, but clean and sharp pruners are much better.
How often to clean garden pruners during the season
The right cleaning schedule depends on what you cut. A pruner used on dry stems only needs lighter care than one used on sticky shrubs, wet growth, or diseased plants. Still, a few simple habits cover most gardens well.
At minimum, wipe and dry pruners after each use. Do a deeper wash whenever you notice sap, dirt, or drag in the cut. If you prune diseased plants, disinfect immediately before moving to another plant.
- After each use: wipe blades and dry them
- After sticky or dirty work: wash with soap and water
- After diseased plants: disinfect with alcohol
- Once a month in active season: inspect pivot, spring, rust, and blade alignment
- At season’s end: deep clean, oil, and store dry
A monthly check catches small problems before they become expensive ones. A loose nut, dry pivot, or tiny rust spot is easier to fix now than after a whole season of neglect.
Another detail beginners often miss: sap from some plants hardens faster in warm weather. On hot days, even a short delay can make cleaning much harder. If you are pruning resinous plants, clean the blades sooner rather than later.
Why clean pruners make healthier cuts
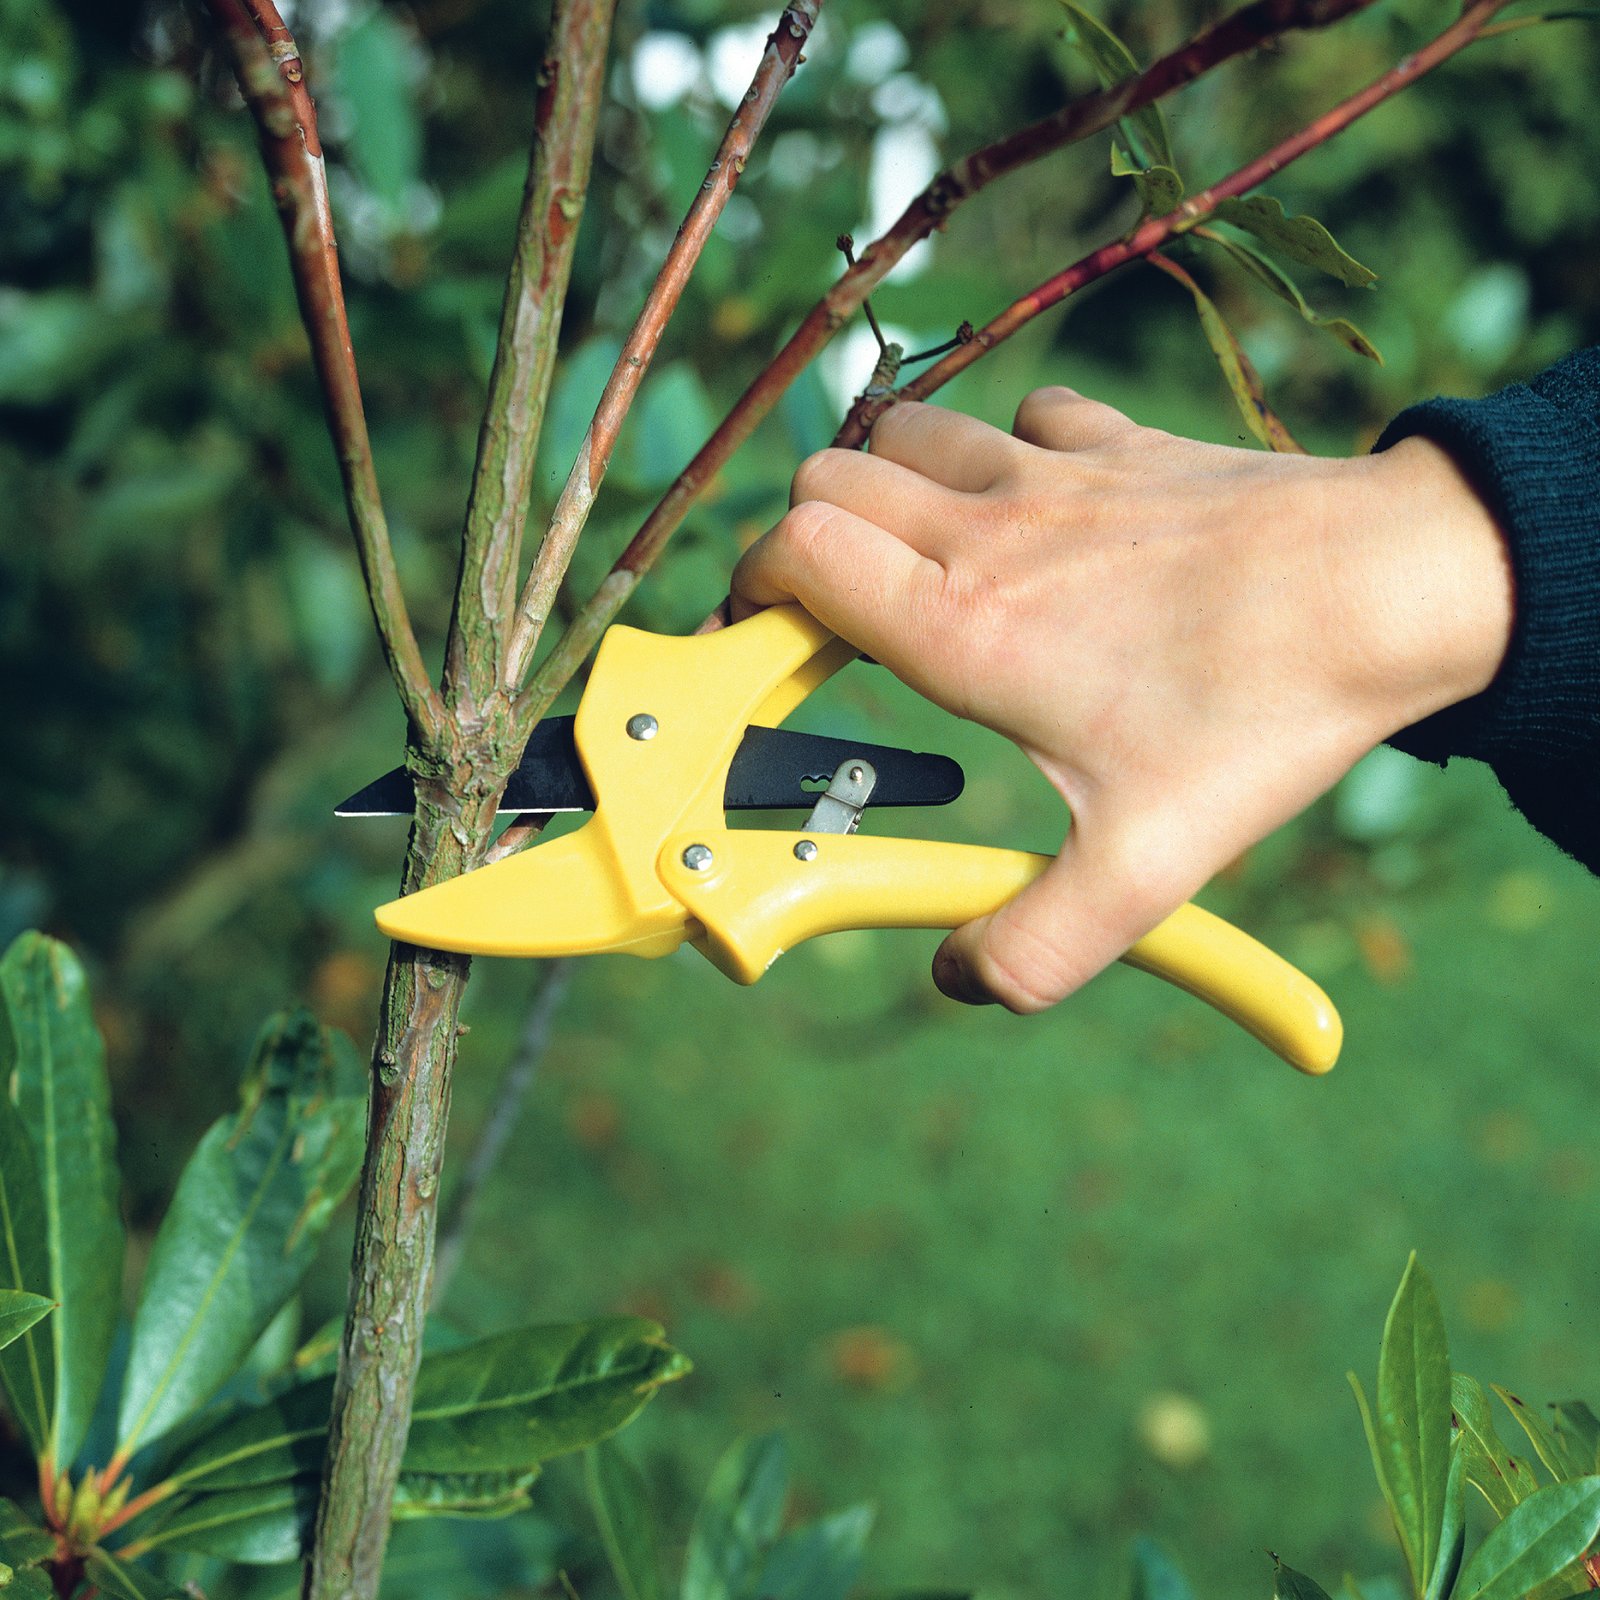
Clean blades do more than look maintained. They reduce friction, cut more smoothly, and help stems heal with less damage. That is important because a rough cut gives water, disease, and pests more chances to enter the plant.
A dirty blade can also transfer contamination from one branch to another. This is especially risky when you move between plants with unknown health issues. One unclean cut can spread trouble through an entire hedge or fruit bed faster than most people expect.
Credit: gardeningknowhow.com
Sharper cuts heal better
Think of a clean cut like a neat paper cut. The edges line up better and close more easily. A crushed stem is more like torn paper, and the plant must spend extra energy repairing the damage.
This is one reason clean pruners matter even when the blades are not visibly filthy. A thin film of sap or dust can change how the blades slide past each other. The tool may still cut, but the quality of the cut drops.
Cleaner tools last longer
Rust and grit wear down moving parts over time. The pivot becomes sloppy, the spring weakens, and the blade edge loses its crisp feel faster. Regular cleaning slows that wear and can add years to the life of a good pair of pruners.
It also saves effort. A smooth tool needs less hand pressure, which matters during long pruning sessions. If you prune for 30 minutes or more, that difference is easy to notice.
Common mistakes that shorten tool life
Many tool problems come from small habits, not big mistakes. The good news is that most of them are easy to fix once you know what to avoid.
Soaking the whole tool
Leaving pruners in water seems harmless, but it encourages rust inside the pivot and spring area. It can also wash away lubrication and leave the tool stiff. Use a damp cloth instead of a soak whenever possible.
Using harsh cleaners all the time
Strong cleaners are not necessary for routine care. They can dry out parts, remove protective oil, or damage handle coatings. Mild soap and alcohol are enough for most garden cleanup jobs.
Skipping the dry step
Cleaning without drying is unfinished work. Even a few drops left in the hinge can cause corrosion over time. Drying takes less than a minute and prevents many future problems.
Forgetting the inside edge of the blade
Gardeners often wipe only the outside face of the pruner. The inside edge, where the actual cut happens, is the part that needs the most attention. That is where sap, plant juice, and debris collect first.
Simple storage habits that keep pruners ready
Good storage is part of cleaning. If you put a wet tool in a shed or bucket, the work you just did can be undone overnight. Dry storage is one of the easiest ways to protect the metal and keep the blade sharper for longer.
Store pruners in a dry place with the blades closed and lightly oiled. A hanging hook, tool rack, or drawer works well if the space is not humid. If your shed tends to get damp, a small silica gel pack nearby can help reduce moisture.
It also helps to keep pruners separate from muddy tools like shovels or trowels. Dirt transfer is a common cause of hidden rust and sticky pivots. Clean tools last longer when they are not piled together in a wet heap.
If you use multiple cutting tools, label one pair for healthy plants and another for questionable or diseased material. That simple split can save time and reduce contamination risk during busy pruning days.
When to sharpen, repair, or replace the tool
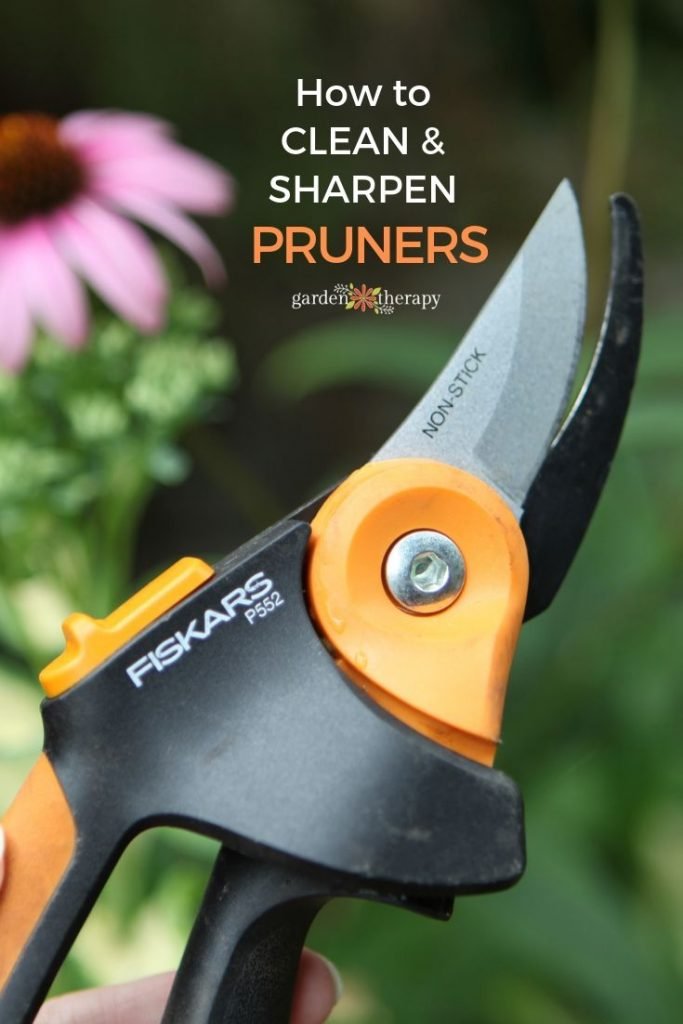
Cleaning solves many problems, but not all of them. If the pruners still feel rough after a proper wash and oiling, the issue may be mechanical rather than dirty. Check for a loose nut, bent blade, damaged spring, or worn cutting edge.
A good test is to cut a fresh stem about the thickness of a pencil. If the cut is clean and smooth, the tool is in good shape. If the stem bends, tears, or gets crushed, the blade likely needs sharpening or repair.
Do not keep forcing a damaged pruner to do clean work. That usually makes the problem worse and can strain your hand too. A properly maintained tool should cut with control, not effort.
For questions about safe handling and maintenance of garden cutting tools, the official safety guidance from the Consumer Product Safety Commission is a useful general reference.
Credit: gardentherapy.ca
FAQs
How often should I clean garden pruners?
Wipe them after every use, wash them when they get dirty or sticky, and disinfect them after cutting diseased plants. A deeper clean once a month during the growing season is a smart habit.
Can I use bleach to disinfect pruners?
Bleach can disinfect, but it is harder on metal and can speed up corrosion if not handled carefully. For home gardening, rubbing alcohol is usually easier and safer for routine use.
What is the fastest way to remove sap from pruners?
Use rubbing alcohol on a cloth and let it sit on the sap for 30 to 60 seconds before wiping. If needed, repeat once or use a plastic scraper for thick buildup.
Do I need to oil pruners after every cleaning?
Yes, a thin coat of oil after drying helps protect the metal and keeps the pivot moving smoothly. You only need a small amount, and any extra should be wiped away.
Why do my pruners still feel sticky after cleaning?
The pivot may still have hidden sap, grit, or a loose screw. Open the tool fully, clean inside the hinge, dry it well, and check whether the blade alignment needs adjustment.