
Yes, you can learn how to plant plants in a garden without guessing. The main secret is simple: give the roots good soil, enough water, and the right amount of space.
Most beginner mistakes happen before the plant goes into the ground. People plant too deep, ignore drainage, or skip checking sunlight. If you fix those three things, your garden gets a much better start.
This guide walks you through the full process in a clear order, from choosing the right spot to caring for plants after planting. You will also see a few easy checks that help prevent common problems later, like weak growth, root rot, and plants that never settle in.
Choose the right place before you dig
The best garden starts with the right location. Sunlight, soil, and drainage matter more than fancy tools. A plant that needs 6 hours of sun will struggle in shade, no matter how carefully you plant it.
Start by watching the area during the day. Notice where the sun hits in the morning, at noon, and in the afternoon. Many vegetables and flowering plants need full sun, which usually means at least 6 hours of direct light. Shade plants can do well with 3 to 5 hours, but they still need bright light.
Drainage is just as important. After rain or watering, look for puddles that stay for more than a few hours. If water sits too long, roots can suffocate. A simple test is to dig a hole about 12 inches deep, fill it with water, and see how fast it drains. If it drains very slowly, you may need raised beds, more compost, or a different spot.
Match the plant to the site
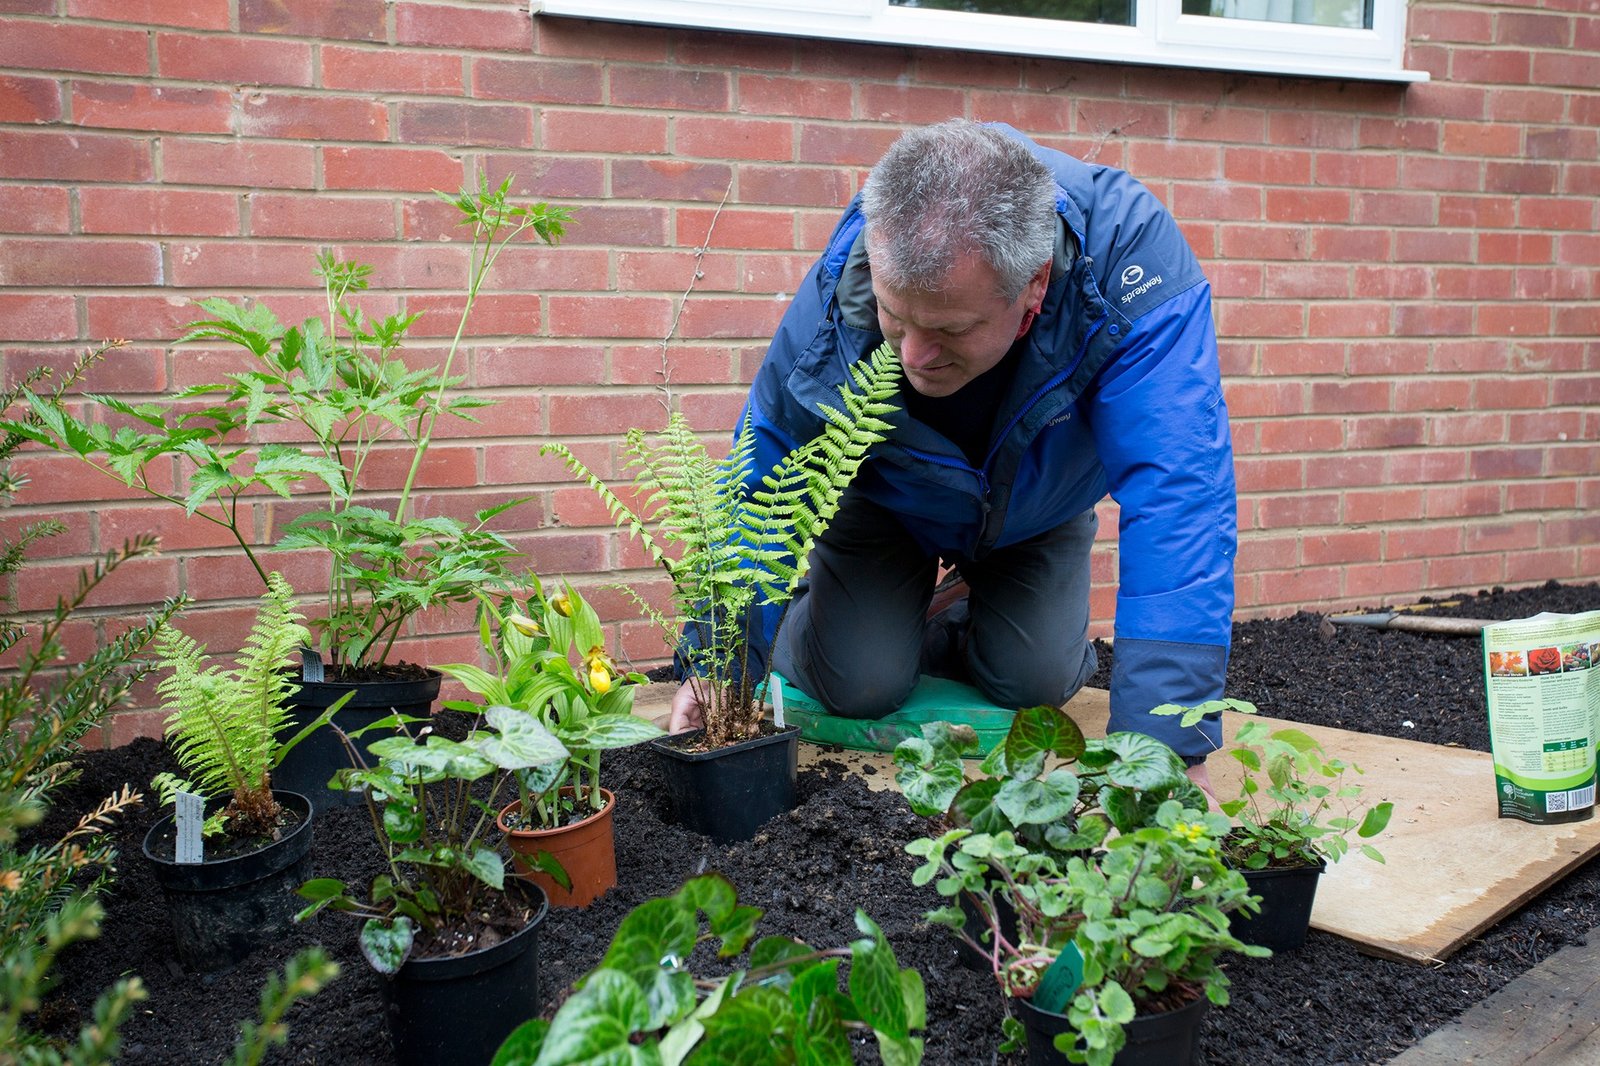
Think about what the plant wants, not what looks nice in the yard. Sun lovers like tomatoes, marigolds, and lavender need bright, open areas. Ferns, hostas, and impatiens do better in partial shade.
If you are unsure, read the plant tag or seed packet. It usually tells you the mature size, sunlight needs, and spacing. Those numbers are not decoration. They help you avoid crowding and poor airflow, which can lead to disease.
Check your soil type
Soil affects how roots grow and how water moves. Sandy soil drains fast. Clay soil holds water longer. Loamy soil, which feels crumbly and balanced, is usually the easiest for beginners.
You do not need a lab test for a basic garden. Grab a handful of damp soil and squeeze it. If it falls apart easily, it may be sandy. If it forms a sticky ball, it may be clay-heavy. If it holds together but breaks apart when poked, that is closer to loam.
Prepare the soil so roots can settle fast
Healthy soil gives new plants a better start than fertilizer alone. The goal is to make the soil loose enough for roots to spread, but firm enough to hold the plant upright. Heavy, compacted soil slows growth because roots have to fight for space and air.
Most beginners do best by mixing in compost. A 2- to 3-inch layer of compost worked into the top 6 to 8 inches of soil improves texture and helps the soil hold moisture. It also feeds helpful microbes that support root growth. You do not need to overdo it. Too much compost can make the soil too rich or too loose for some plants.
If you want a trusted soil-care reference, the university extension soil guide offers practical basics on soil structure and plant growth. It is a useful check when you want to understand why soil behaves the way it does.
Clear the bed the right way
Remove weeds, rocks, sticks, and old roots before planting. Weeds compete for water and nutrients, and some hidden roots can slow down digging. Pull weeds when the soil is slightly moist so roots come out more easily.
Loosen the top layer of soil with a garden fork or hand trowel. You do not need to dig the whole bed deeply unless the soil is packed down. For most home gardens, breaking up the top 8 to 12 inches is enough.
Add compost, but keep the balance
Compost helps, but more is not always better. A common beginner mistake is creating a rich pocket of compost inside poor native soil. Roots may stay in that pocket instead of spreading outward.
Blend compost into the surrounding soil so the plant transitions smoothly. For container plants moved into the ground, loosen the planting hole edges as well. Smooth, shiny sides can act like a wall and stop roots from escaping.
Pick healthy plants and know what they need
Good planting starts with a healthy plant. Look for strong stems, clean leaves, and roots that are not circling tightly around the pot. Avoid plants with yellowing leaves, broken stems, or signs of pests.
If you are buying from a nursery, check the root ball before planting. A plant that is root-bound may have roots wrapped around the inside of the pot. That is not a deal breaker, but you should gently tease the roots apart or make a few vertical cuts on the outside before planting.
Read the tag before you dig
Plant tags often include the most important facts: sun needs, mature height, spacing, and water needs. These details help you avoid placing a small plant where a large one will later crowd it.
Pay attention to mature size, not current size. A tiny seedling can become a 4-foot shrub or a 6-foot tomato plant. If you ignore spacing, plants fight for light and air, which makes them weaker and harder to care for.
Know the plant category
Different plants need slightly different planting styles. Annuals usually fill in fast and grow for one season. Perennials come back year after year. Shrubs and trees need deeper holes and more care around the root flare, which is the point where the trunk widens near the roots.
Vegetables often need warmer soil and more sunlight than ornamental flowers. Herbs usually like well-drained soil and can struggle if they sit in water. Matching the plant type to the planting method prevents a lot of trouble later.
Plant at the correct depth and spacing
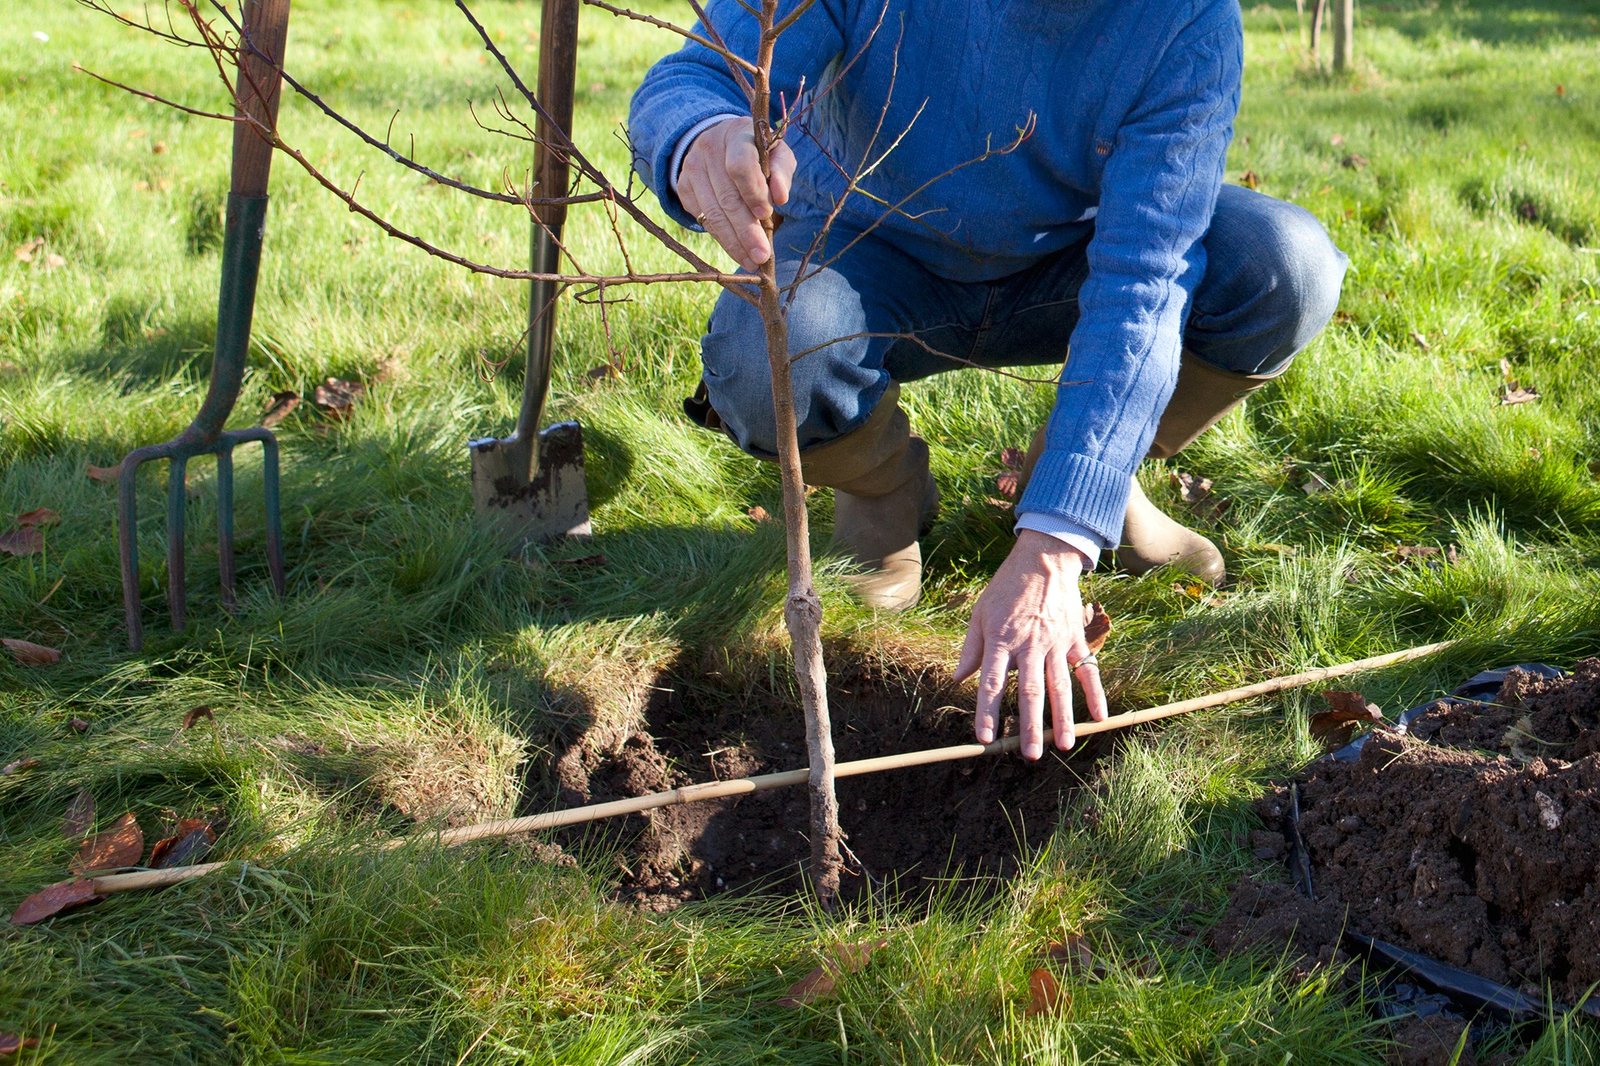
This is where many beginners make the biggest mistake. If a plant is too deep, the stem can rot. If it is too high, roots may dry out. The top of the root ball should usually sit level with or slightly above the surrounding soil.
Dig the hole wider than the pot, but not much deeper. A hole about 2 times wider than the root ball is usually enough. Width matters because roots spread sideways more than straight down at first. A wide hole gives them easier access to loosened soil.
| Plant type | Typical planting depth | Spacing idea |
|---|---|---|
| Annual flowers | Top of root ball level with soil | 6 to 12 inches apart |
| Vegetables | Level with soil unless tag says otherwise | 12 to 24 inches apart |
| Perennials | Level with soil | 12 to 36 inches apart |
| Shrubs | Root flare slightly above soil | 3 to 10 feet apart |
These spacing numbers are general guides, not hard rules. Always adjust for the plant’s mature size. Crowded plants may look full at first, but they often become weak when air cannot move through them.
Credit: gardenersworld.com
Keep the root flare visible
For shrubs and trees, do not bury the base of the trunk. The root flare should remain visible at or just above the soil line. This is one of the most overlooked steps in home planting.
Burying the flare traps moisture against the trunk and can encourage decay. It also makes it harder for the roots to get oxygen. If you are planting a woody plant, stop and check the base before filling the hole.
Backfill gently
After placing the plant in the hole, fill around it with the soil you removed, plus compost if needed. Press the soil lightly with your hands to remove big air pockets, but do not pack it hard. Roots need both contact and airflow.
Water once halfway through backfilling, then finish filling the hole. This helps the soil settle around the roots more evenly. If the plant sinks too low after watering, lift it gently and add more soil under the root ball.
Water correctly during the first few weeks
Water is what helps a newly planted garden recover from transplant stress. The first watering should be deep enough to soak the root zone, not just the surface. Shallow watering encourages shallow roots, which dry out faster.
Right after planting, water slowly until the soil is moist several inches down. For many small plants, that means a thorough soak of about 1 to 2 gallons. Larger shrubs need more. The exact amount depends on size, weather, and soil type, but the goal is the same: wet the root area, not just the top layer.
For the first 2 to 3 weeks, check the soil daily or every other day. If the top inch feels dry, water again. In hot, windy weather, new plants may need water more often. In cool, wet weather, they may need less.
Learn the difference between dry and drowned
Both under-watering and over-watering can cause drooping leaves. That confuses many beginners. A plant that is underwatered often has dry soil and crisp leaves. A plant that is overwatered may have soft, yellowing leaves and soggy soil.
Stick a finger about 2 inches into the soil. If it feels dry, water. If it feels damp or cool, wait. This simple check is more reliable than watering on a fixed schedule alone.
Use mulch to hold moisture
Mulch helps the soil stay evenly moist and reduces weeds. Spread 2 to 3 inches of organic mulch, such as shredded bark or wood chips, around the plant. Keep mulch a few inches away from stems and trunks.
That gap matters more than many people think. Mulch piled against the plant can trap moisture and invite rot. Think of mulch as a blanket for the soil, not for the stem.
Help new plants settle in after planting
The first month after planting is the settling period. The plant is adjusting to a new home, new soil, and new moisture patterns. Good aftercare during this time often decides whether the plant thrives or struggles.
Avoid heavy pruning right away unless a damaged branch needs removal. Leaves help the plant make energy. Cutting too much too soon can slow recovery. If the plant came in bloom, it may drop some flowers after transplanting. That can be normal.
Watch for signs of transplant shock: wilting during the day, slower growth, or dropped leaves. Mild shock is common. The plant usually recovers if the roots stay moist and the soil drains well. If the whole plant keeps declining after 7 to 10 days, check root depth, watering, and drainage.
Credit: gardenersworld.com
Support tall or fragile plants
Some plants need staking or cages, especially tall flowers and tomatoes. Support should go in early, before the plant leans over. Adding a stake later can damage roots.
Use soft ties and leave room for the stem to move slightly. That small movement helps the plant grow stronger. Ties that are too tight can cut into stems as they expand.
Know when to fertilize
Do not rush to feed every new plant. If the soil was prepared with compost, that may be enough at first. Too much fertilizer can burn tender roots or push fast top growth before the root system is ready.
Wait until the plant shows steady new growth, then feed according to its needs. For many garden plants, a light feeding several weeks after planting is safer than a heavy dose on day one.
A simple planting process you can follow every time
Once you understand the basics, the planting process becomes easy to repeat. Having a simple order keeps you from skipping important steps when you are busy or working with several plants at once.
- Choose a spot with the right sun and drainage.
- Clear weeds and loosen the top soil.
- Mix in compost if the soil is poor or compacted.
- Dig a hole wider than the root ball.
- Place the plant so the top of the root ball sits at soil level.
- Backfill gently and water halfway through.
- Finish filling, water deeply, and add mulch.
- Check moisture often during the first few weeks.
This order works for many flowers, vegetables, and small shrubs. For trees, large shrubs, or special plants with unique needs, follow the plant tag or nursery instructions first. Still, the same core idea stays the same: correct depth, good soil contact, and steady moisture.
Common mistakes beginners can avoid
- Planting too deep and burying the stem or root flare.
- Skipping drainage checks before planting.
- Using hard-packed soil around the root ball.
- Watering only the surface instead of soaking the root zone.
- Placing plants too close together for their mature size.
- Putting mulch against stems or trunks.
These mistakes are easy to make because the garden looks fine at first. Problems often appear later, after the roots have already been stressed. A few careful minutes at planting time can save weeks of repair work.
How to tell if your planting worked
Healthy new plants usually show small signs of recovery within 1 to 3 weeks. You may see fresh leaves, firmer stems, or new roots holding the plant in place. Some plants settle slowly, so do not expect dramatic growth overnight.
Check the soil around the plant every few days. If it stays soggy for too long, improve drainage or reduce watering. If it dries out fast, increase mulch or water more deeply. The plant’s behavior tells you more than a calendar does.
One non-obvious detail: a plant that stops growing for a short time is not always failing. It may be using energy below ground to build roots first. That is especially common with perennials and shrubs. Patience matters, but so does watching for real warning signs like yellowing, soft stems, or foul-smelling soil.
When to call for help
If a plant keeps wilting even when the soil is moist, the roots may be damaged or the drainage may be poor. If stems turn black, mushy, or slimy, rot may be starting. For trees or large shrubs, a local nursery, extension office, or certified arborist can help identify the issue early.
For garden plants, help is worth getting if you see repeated pest damage, unexplained leaf spots, or no recovery after 2 to 3 weeks of proper care. The sooner you diagnose the problem, the easier it is to save the plant.
Final thoughts on how to plant plants in a garden
If you remember only one thing about how to plant plants in a garden, make it this: roots need the right depth, loose soil, and steady water. Those three basics solve more beginner problems than any fertilizer or fancy tool.
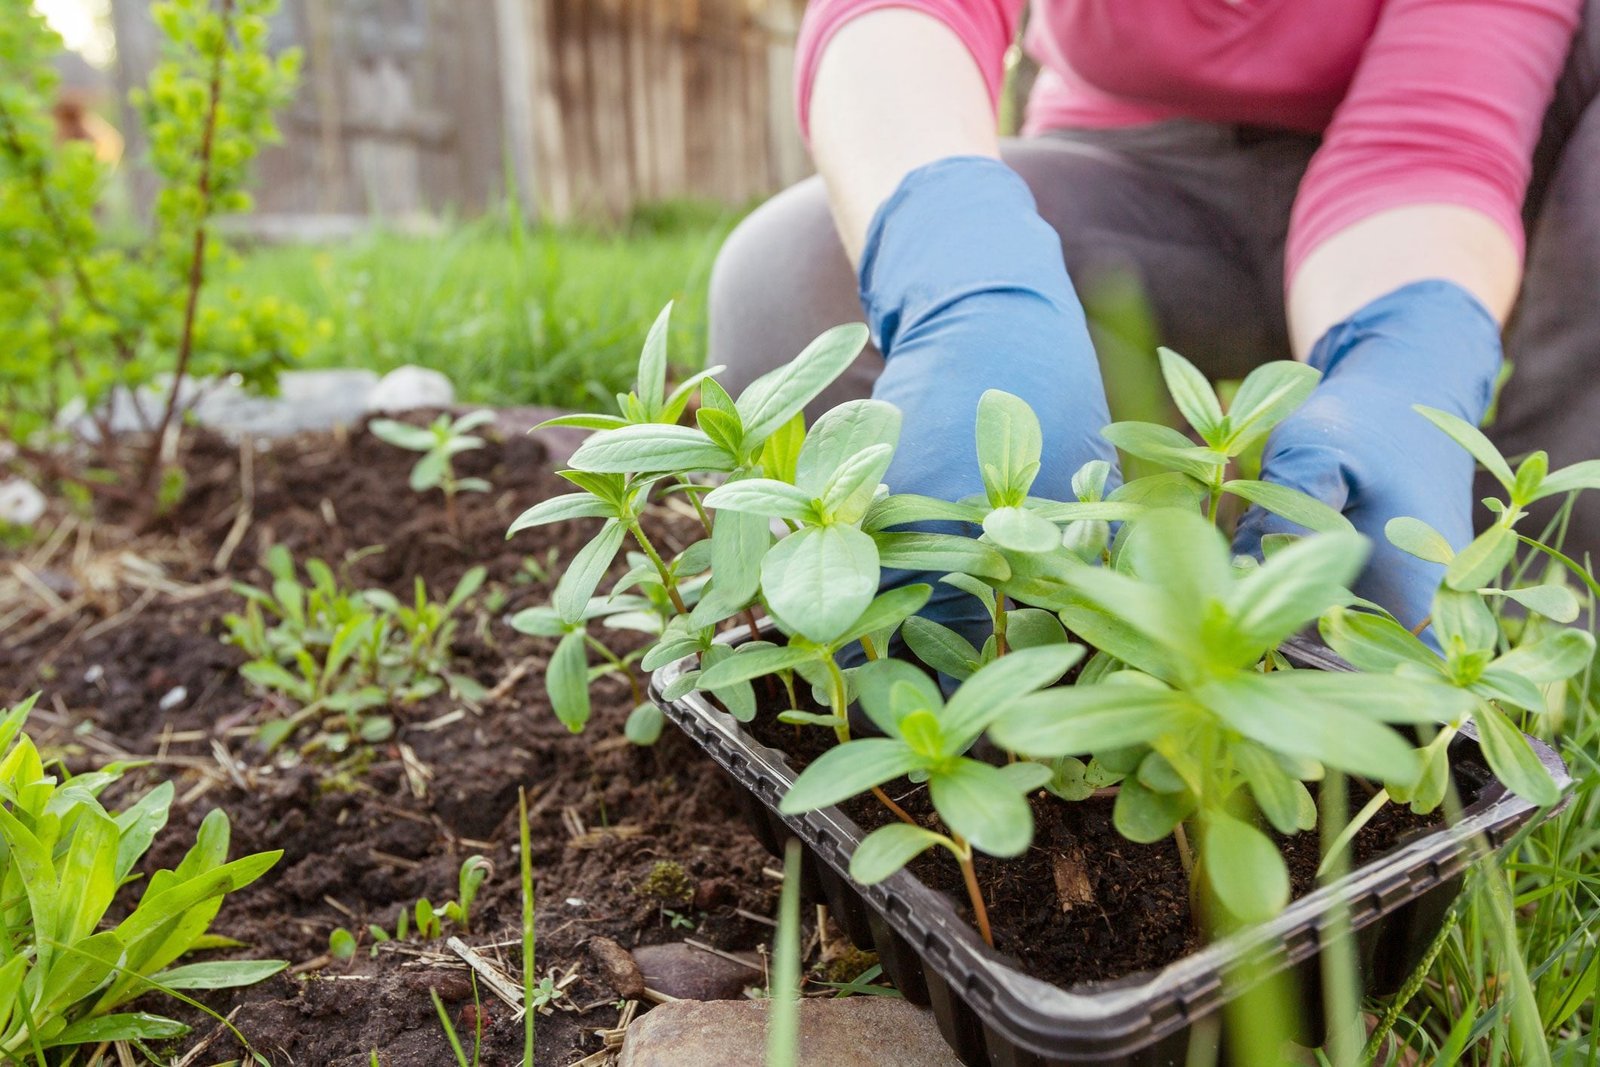
Start with a good site, prepare the soil, plant at the correct level, and water deeply after planting. Then keep an eye on moisture during the first few weeks. That simple routine gives your garden a much stronger start and helps plants settle in with less stress.
Credit: familyhandyman.com
FAQs
How deep should I plant most garden plants?
Most garden plants should be planted so the top of the root ball sits level with the soil surface. For shrubs and trees, keep the root flare visible. Planting too deep is one of the fastest ways to cause rot.
How often should I water new plants?
Water new plants deeply right after planting, then check the soil every 1 to 3 days during the first few weeks. Water when the top 1 to 2 inches feels dry. Hot weather may require more frequent watering.
Can I use potting soil in the ground?
You can mix some potting soil into garden soil, but do not rely on it alone for in-ground planting. Potting soil is made for containers and may hold water differently than native soil. Compost is often a better soil amendment for garden beds.
What is the biggest mistake beginners make when planting?
The biggest mistake is usually planting too deep or ignoring drainage. Both problems stress roots and can lead to decline even if the plant looks fine at first. Matching the plant to the site matters just as much.
How do I know if a plant is getting too much water?
Signs of too much water include yellow leaves, soft stems, and soil that stays wet for a long time. The plant may also look wilted even though the soil is damp. If that happens, reduce watering and check drainage around the roots.