A dead starter is one of the most common reasons a lawn mower will not crank. If you want to how to test a lawn mower starter the right way, you do not need advanced tools or expert repair skills.
You just need a few basic checks, a safe work area, and a simple process. The goal is to find out whether the starter itself is bad, or if the problem is really the battery, switch, solenoid, cable, or safety interlock.
This guide walks you through those checks in a clear order. You will learn what tools to use, how to read the results, and when the starter is truly the failed part.
What to check before you test the starter
Do not test the starter first if the mower has obvious power or safety problems. Many people blame the starter when the real issue is low battery voltage, a corroded connection, or a safety switch that is blocking the start circuit.
The best starting point is a quick visual inspection. Look for loose battery terminals, cracked cables, melted wires, rust around the starter body, and signs of water damage. A starter motor can fail, but a bad connection can create the same symptom.
On electric-start mowers, a fully charged 12-volt battery should usually read about 12.6 volts at rest. If it drops below about 12.2 volts, you may already have a battery problem that makes starter testing misleading. For safety details on battery and small-engine handling, the official safety guidance from CPSC is a useful reference.
Tools you should have ready
- Multimeter for voltage checks
- Socket set or wrench for battery and starter terminals
- Screwdriver for access panels, if needed
- Work gloves
- Safety glasses
If your mower uses a pull-start system with an electric starter option, the exact layout can vary a lot by brand. That matters because some starters are hidden under shrouds, while others are easy to reach near the engine flywheel. Check the owner’s manual if access seems unclear.
How to test a lawn mower starter step by step
The easiest way to test a starter is to work from the outside in. Start with voltage, then move to the starter circuit, then test the starter itself. That order saves time and prevents replacing a good starter when the real fault is somewhere else.
1. Confirm the battery is strong enough
Set your multimeter to DC volts and place the probes on the battery terminals. A healthy 12-volt battery should show around 12.6 to 12.8 volts when fully charged. Anything near 12.0 volts is weak, and below that is usually too low for a reliable starter test.
Now try a crank attempt while watching the meter. If voltage falls sharply, often below 10 volts, the battery may be weak even if it looked fine at rest. This is one of the biggest beginner mistakes: a battery can look charged and still collapse under load.
2. Check the battery cables and ground connection
Loose or dirty cables can stop a starter from getting enough current. Inspect both battery terminals and the ground connection where the negative cable attaches to the frame or engine block. Clean off corrosion and tighten any loose hardware.
A starter needs strong current, not just voltage. A cable that looks “okay” can still fail under load if the inside is damaged or the connection is oxidized. If the cable feels hot after a start attempt, that is a clue that resistance is too high.
3. Test the safety switch and start circuit
Many mowers will not send power to the starter if the seat switch, blade control switch, brake switch, or transmission safety switch is open. These switches are there to prevent accidental starts. If one is not engaged correctly, the starter may be innocent.
Try the start position with the blade lever off, parking brake set, and operator seated. If the mower gives no click at all, the problem may be upstream of the starter. A click usually means the control circuit is trying to work, which helps narrow the diagnosis.
4. Listen for the starter solenoid
The solenoid is the switch that sends battery power to the starter motor. If you hear a sharp click but the engine does not turn, that usually means the control side is working, but power is not reaching the starter motor or the starter itself is failing.
No click at all points you toward the switch circuit, fuse, or ignition switch. One click with no crank points more toward power delivery, cable resistance, or the starter motor. That difference saves a lot of guesswork.
5. Measure voltage at the starter terminal
Place the multimeter probe on the starter’s power terminal and the other probe on ground. Turn the key or press the start button. You should see close to battery voltage when the start circuit is active.
If you get strong voltage at the starter terminal but the motor does not spin, the starter is likely bad. If voltage is much lower than battery voltage, the problem is probably in the wiring, solenoid, or switch path. This is the most useful test in the whole process.
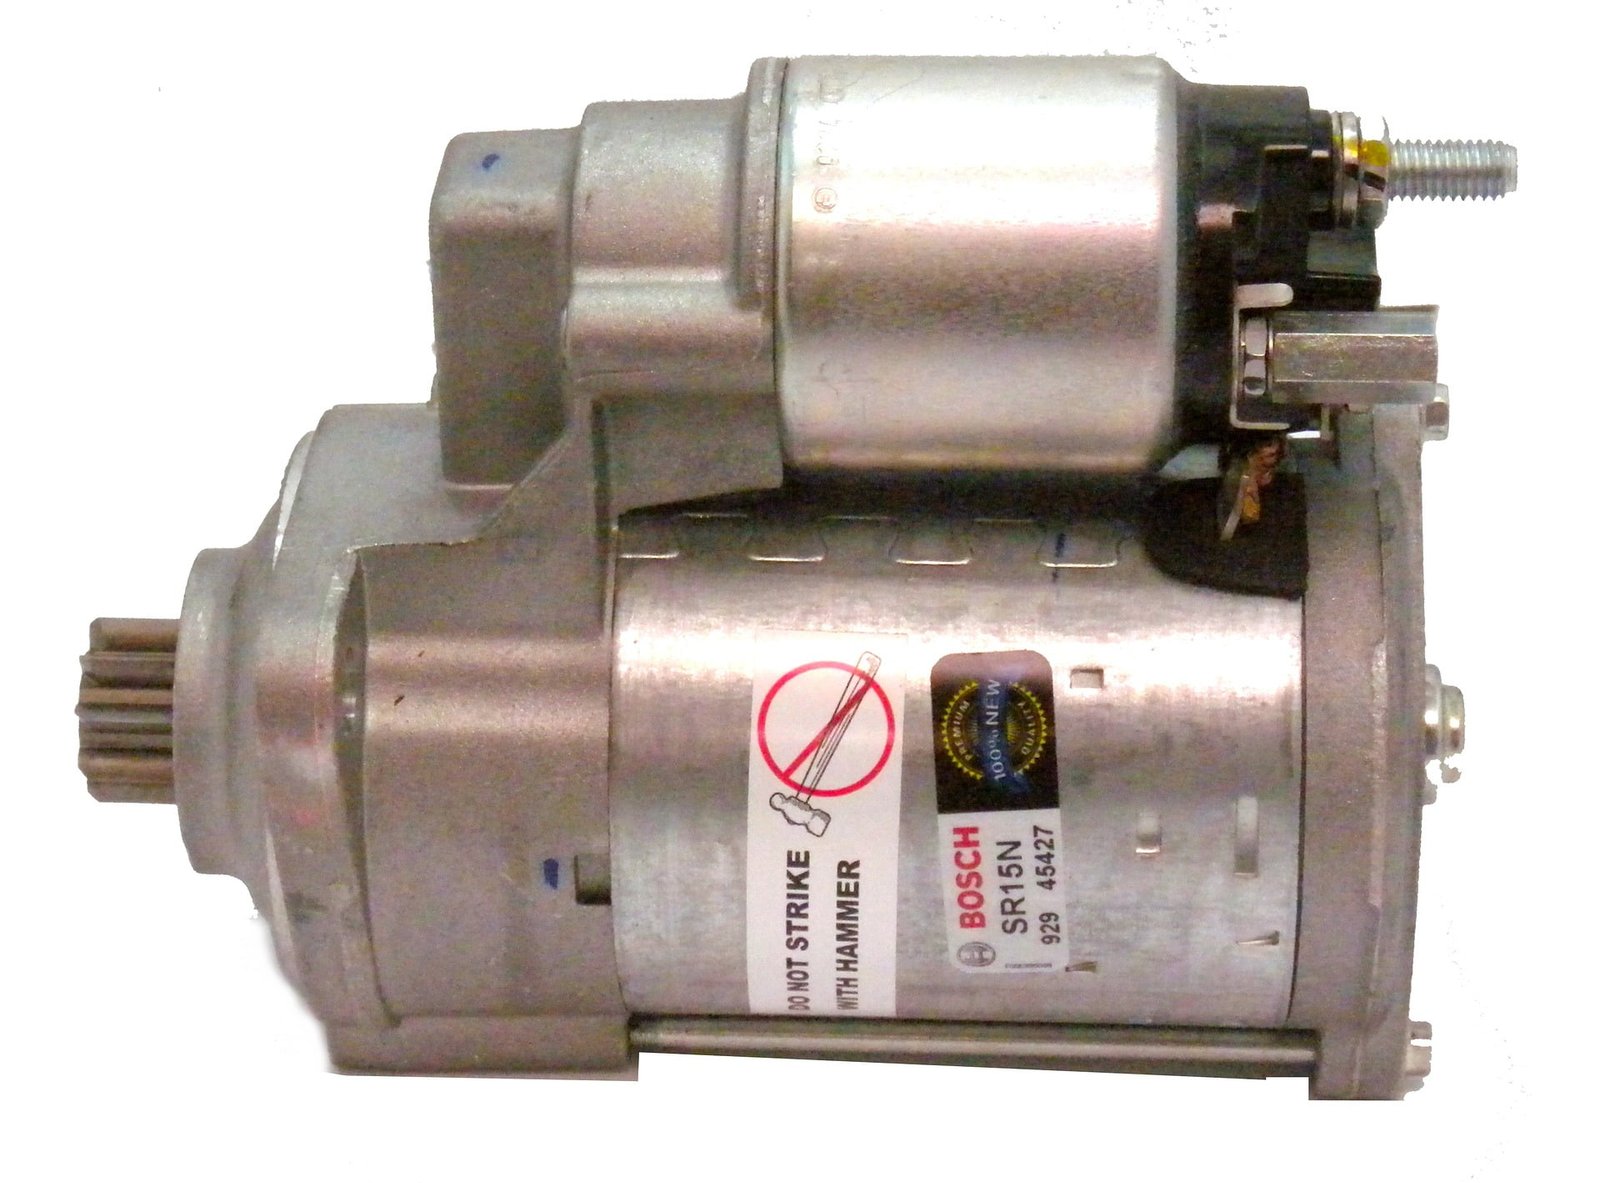
6. Perform a bench test if the starter is removed
If the starter is easy to remove, a bench test can confirm the failure. Clamp the starter securely in place, then connect it to a known good 12-volt battery using heavy jumper cables. Touch the positive cable to the starter terminal and ground the starter body.
A good starter should spin fast and smoothly. A weak starter may turn slowly, grind, or fail to spin at all. If it only works sometimes, internal brushes or bearings may be worn.
What a bench test can tell you
- If the starter spins strongly, the problem may be in the mower wiring or solenoid.
- If the starter only clicks or moves weakly, the motor is likely failing.
- If the starter gets hot very fast, it may have an internal short.
Be careful not to run the starter too long during testing. A few seconds is enough. Long test runs can overheat the motor and damage a starter that was still usable.
7. Test voltage drop if the starter still seems weak
Voltage drop testing is more advanced, but it gives a clearer answer than a simple voltage check. Measure from the battery positive terminal to the starter positive terminal while cranking. Then do the same from battery negative to the starter ground point.
If either side shows a large drop, the current is being lost in the cable path. This often reveals hidden corrosion inside a cable, a loose lug, or a bad ground point. Many people replace starters when the real issue is a poor connection that cannot carry enough current.
How to read the results without guessing
Once you finish testing, match the symptom to the most likely cause. This makes the repair decision much easier. You do not need to replace every part in the circuit just because the mower will not start.
The pattern below is usually enough to point you in the right direction. Think of it as a quick decision guide, not a hard rule. Mower designs differ, but the basic logic stays the same.
| Test result | Most likely cause | What to do next |
|---|---|---|
| No click, no crank | Safety switch, fuse, ignition switch, or wiring issue | Check switches, fuse, and control circuit first |
| Click but no crank | Weak battery, bad cable, bad solenoid, or bad starter | Check battery voltage under load and test voltage at starter |
| Starter turns slowly | Low battery, poor ground, worn starter, or engine drag | Test battery, cables, and engine rotation |
| Starter gets voltage but does not spin | Failed starter motor | Remove and bench test the starter |
| Starter spins on bench but not on mower | Wiring, ground, solenoid, or switch problem | Inspect the full start circuit |
One non-obvious point many beginners miss: a starter can fail only when hot. It may work cold in the garage, then stop after the engine warms up. Heat expands worn parts and increases internal resistance, so do not assume a one-time success means the starter is healthy.
Credit: frenchriverco.com
Common mistakes when checking a mower starter
The biggest mistake is skipping the battery test. A weak battery can mimic a bad starter almost perfectly. If the battery cannot hold voltage during cranking, every other test becomes harder to trust.
Another common mistake is testing with dirty terminals still in place. Corrosion acts like a resistor. Even a small layer of buildup can block enough current to prevent the starter from turning strongly.
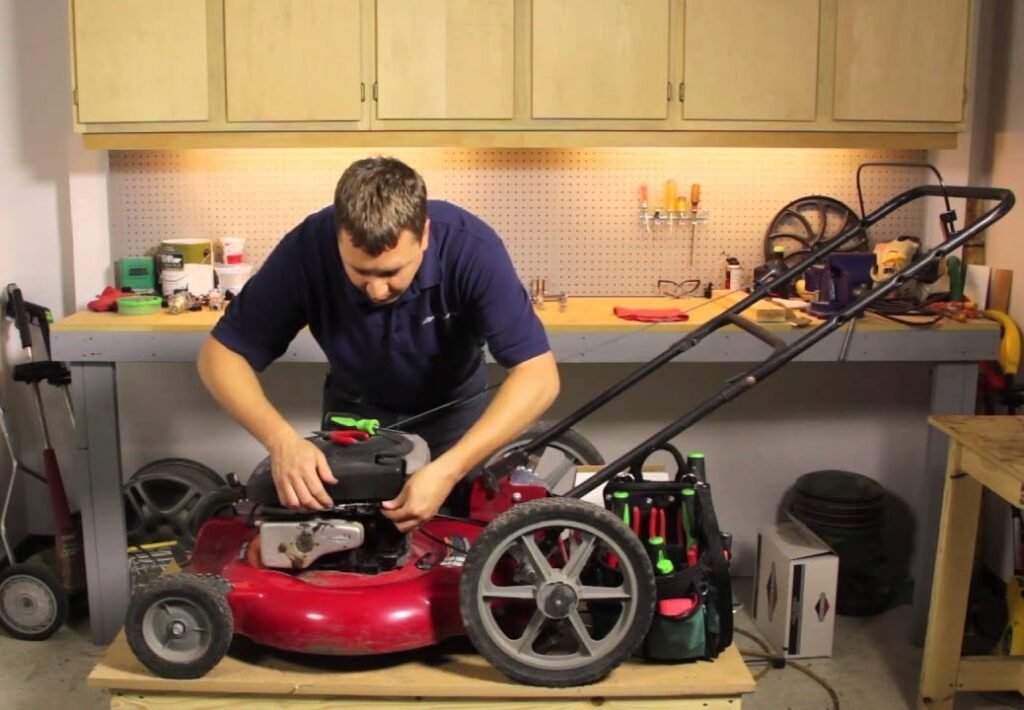
People also forget about the engine itself. If the engine is seized, hydro-locked, or jammed by debris, the starter may be fine but unable to turn the crankshaft. Always check that the engine can rotate by hand if the starter appears to be working but the engine still will not move.
Credit: pinterest.com
How to avoid a wrong diagnosis
- Test battery voltage before blaming the starter.
- Clean terminals before taking readings.
- Listen for the solenoid click.
- Check that safety switches are engaged correctly.
- Verify the engine can turn by hand if needed.
Another overlooked detail is cable routing. A cable that is pinched, rubbed through, or half-broken inside the insulation can pass a small test voltage but fail under real load. That is why a mower may seem “fine” during a quick meter check, then refuse to crank when you actually start it.
When the starter is probably bad
If the battery is good, the cables are clean, the safety switches are working, and full voltage reaches the starter terminal, the starter itself is probably the problem. That is the strongest sign you can get without dismantling the motor.
Other signs include grinding noise, intermittent operation, slow spinning even with a strong battery, or a bench test that produces weak or no movement. Internal wear usually shows up in the brushes, armature, or bearings. Once those parts wear out, the starter may fail completely or work only part of the time.
Replacement makes sense when the starter fails the bench test or draws power but cannot spin the engine reliably. If the starter is sealed and not serviceable, replacement is usually the practical fix. Rebuilding is not always worth the time on small mower starters.
When it might not be the starter after all
Sometimes the starter sounds weak because the engine is hard to turn. Thick oil in cold weather, a damaged blade, debris around the deck, or internal engine compression problems can all make cranking harder. A starter in good condition can still struggle if the engine load is too high.
If the starter test passes but the mower still will not start, move your attention to the fuel system, spark system, and engine compression. A good starter only proves the engine can be turned. It does not prove the engine can fire.
Simple maintenance that helps the next starter test
Good maintenance makes future diagnosis much easier. Clean battery terminals a few times per season, keep the battery charged, and inspect ground points for rust. These small steps prevent false starter failures.
Also keep the mower dry when possible. Water intrusion speeds up corrosion in connectors and solenoids. On riding mowers, the starter area often collects grass dust and moisture, which slowly damages electrical contact.
Check the battery date if your mower uses one. Many 12-volt mower batteries last about 2 to 4 years, depending on storage, charging, and use. A weak battery often gets blamed on the starter because both problems cause the same no-crank symptom.
For mower-specific safety and operating information, the owner’s manual remains the best source. If you need model-specific guidance, the official manual or support page from your mower brand is usually the most reliable reference.
Credit: backyardstyle.com
Final take
If you want to how to test a lawn mower starter without wasting time, follow the power path in order: battery, cables, safety switches, solenoid, then starter. That sequence finds the real problem faster than replacing parts at random.
In many cases, the starter is not the first failure point. A weak battery, dirty terminal, or bad ground is often the real cause. Once you test the system step by step, the answer becomes much clearer, and you can fix the mower with confidence.
Frequently asked questions
1. How do I know if my lawn mower starter is bad?
If the battery is strong, the cables are clean, and full voltage reaches the starter but it still will not spin, the starter is likely bad. A weak bench test is another strong sign.
2. Can a bad battery look like a bad starter?
Yes. This is very common. A battery can show normal voltage at rest but drop too low during cranking, which makes the starter seem faulty.
3. What voltage should a lawn mower starter get?
It should get close to full battery voltage during a crank attempt. On a 12-volt system, that is usually around 12 volts or a little less under load, but not a large drop.
4. Why does my mower click but not crank?
A click usually means the solenoid is working, but the starter is not turning. The cause is often a weak battery, bad cable, poor ground, or a failed starter motor.
5. Can I test a mower starter without removing it?
Yes. You can test battery voltage, cable condition, solenoid action, and voltage at the starter terminal while it is still on the mower. A bench test is only needed if those checks point to the starter itself.