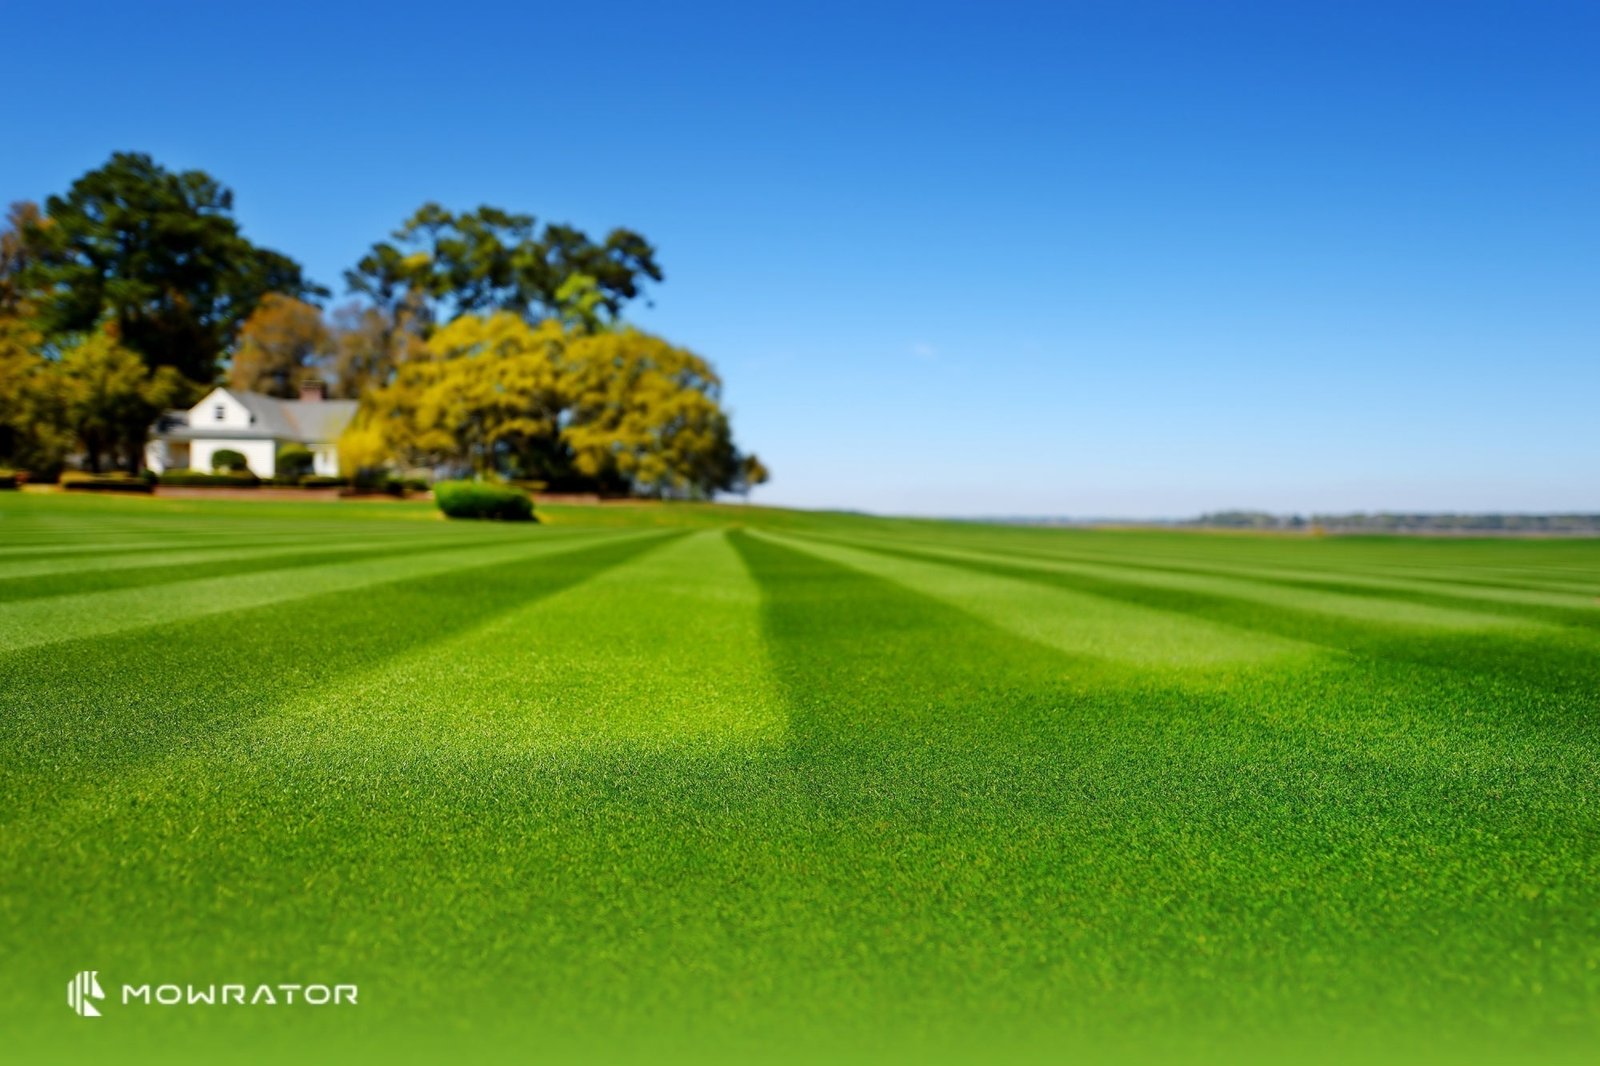
If you want a lawn that looks clean and professional, how to mow stripes is the skill that makes the biggest visual difference. Those light and dark bands are not paint or special grass. They are made by bending the grass in different directions as you mow.
The good news is that you do not need a fancy lawn service to get this look. With the right mower setup, a simple pattern, and a few small details, almost any healthy cool-season lawn can show clear stripes. The trick is learning what creates the pattern, then repeating it without drifting or rushing.
This guide shows you exactly how to make stripes that look sharp, stay even, and last longer between cuts. You will also learn the mistakes that blur stripes fast, which mowing height works best, and how to avoid the common habits that make a lawn look patchy instead of polished.
What actually creates lawn stripes
Lawn stripes come from light reflection, not from cutting grass at two different heights. When the mower passes in one direction, the grass bends toward one side. The next pass bends the grass the other way. When sunlight hits those opposing angles, one stripe looks lighter and the next looks darker.
That is why stripe quality depends on grass flexibility. Fine, dense grass shows the effect best, especially cool-season grasses like Kentucky bluegrass, ryegrass, and fescue. Thin or stressed turf can still stripe, but the result is usually softer and less dramatic.
One detail many beginners miss is that stripes are strongest when the grass is healthy and upright before mowing. If the lawn is dry, scalped, or overgrown, the blades do not bend evenly. The pattern still forms, but it fades fast and looks uneven from the street.
Why mower type matters
A standard rotary mower can create stripes because its wheels and deck push grass over as it cuts. A reel mower can also stripe well, especially on very even turf. But the blade type is not the main factor. The rear roller, striping kit, or even the mower’s own weight distribution does more to enhance the effect.
If your mower has no rear roller, you can still get visible stripes by using a striping kit. These kits press the grass after cutting so the bend is stronger and more uniform. That extra pressure can make a big difference on medium-height lawns.
Prepare the lawn before you try to stripe it
Striping works best when the lawn is in good condition before the mower starts. Start with a clean, even cut. If the grass is too long, the mower will flatten some areas instead of cutting them cleanly. If it is too short, there is not enough blade length to bend, so the stripes will be weak.
The sweet spot for many lawns is to remove no more than one-third of the grass height at a time. For example, if your grass is 4 inches tall, cut it down to about 2.5 to 3 inches, not 1.5 inches. This keeps the turf healthy and improves the final look.
Check for wet clumps, sticks, toys, and leaves before mowing. Any debris can interrupt the line and create ugly breaks in the stripe pattern. A clean lawn also helps the mower roll evenly, which matters more than people think.
Choose the right mowing conditions
Dry grass gives the best visual result. Wet blades stick together, cling to the mower, and fall back in random directions. That makes the stripes look blurry. Morning dew is enough to ruin the effect, even if the lawn does not feel soaked.
Wind matters too. Strong wind can stand the grass back up or push it sideways, especially on lighter turf. If possible, mow when the air is calm and the sun is not too low. Early evening often works well because the light makes the stripe contrast easier to see.
For official mower safety guidance, the CPSC lawn mower safety guidance is a useful reference before you start.
Set up your mower for sharper stripes
A few mower settings can make your stripes much cleaner. The first is blade height. A taller cut usually stripes better than a very short cut because the grass has more length to bend. Many homeowners get the best visual result when mowing cool-season turf in the 2.5 to 3.5 inch range, depending on the grass type and season.
The second is blade sharpness. A dull blade tears the grass instead of cutting it. Torn tips look pale and rough, which weakens the contrast. Most homeowners sharpen mower blades every 20 to 25 hours of use, or at least once or twice per season.
The third is tire pressure. Uneven tire pressure can cause one side of the deck to ride higher than the other. Even a small difference can create a stripe that looks crooked. Check the tire sidewall or owner’s manual for the correct PSI and keep both sides even.
| Setup factor | What to aim for | Why it helps stripes |
|---|---|---|
| Mowing height | Moderate to slightly tall | Longer blades bend more clearly |
| Blade sharpness | Sharp edge, no tearing | Cuts cleanly and keeps color even |
| Tire pressure | Even side to side | Helps the mower track straight |
| Grass condition | Dry and healthy | Improves bend and light reflection |
The easiest pattern to use when learning how to mow stripes
Start with a simple back-and-forth pattern. Pick a straight line along the longest edge of the lawn, such as a driveway, sidewalk, or fence. Mow the first stripe straight down that line. On the next pass, turn around and mow directly beside it, keeping the mower aligned with the edge of the first stripe.
The key is to look far ahead, not down at the front wheels. Many people drift because they focus too much on the mower deck. A point in the distance gives your body a better line to follow. That small habit makes the stripes straighter within just a few passes.
Overlap each pass slightly, about 2 to 4 inches, so you do not leave uncut blades between lines. Too much overlap can waste time and make the lawn look uneven. Too little overlap leaves faint green streaks in the middle of the stripe pattern.
Credit: mowrator.com
Turn without ruining the pattern
Sharp turns at the end of each pass can break the effect. Instead, make wide, gentle turns on the uncut side of the lawn. Then line up for the next pass from the same direction each time. This keeps the wheel marks outside the striped area and makes the surface look smoother.
A simple trick is to always turn the mower on the same side of the stripe, then begin the next pass with the same wheel position. Consistency matters more than speed. If the turn is sloppy, the stripe edge will look frayed even if the center is straight.
How to handle curves and awkward edges
Not every yard is a perfect rectangle. For curves, use short sight lines and create smaller parallel sections. In tight areas, it helps to think in zones instead of long continuous stripes. You can still get a professional look by keeping each zone straight and matching the direction across the lawn.
Near trees, beds, and posts, cut the edge cleanly first, then stripe the open section. Edges usually do not need full stripes to look neat. A clean border makes the striped area stand out more, which can improve the whole lawn’s appearance.
Use direction changes to make the pattern look richer
If you mow the same direction every time, the lawn can start to look flat and overworked. Changing the stripe direction every few cuts helps the grass recover and gives you more visual variety. One week, stripe north to south. Next time, go east to west. For a diagonal look, rotate the pattern about 45 degrees.
This also helps reduce soil compaction in the same wheel tracks. Repeated traffic in the same direction can press the turf down and create worn paths over time. Rotating the pattern spreads that stress out, which is better for the grass.
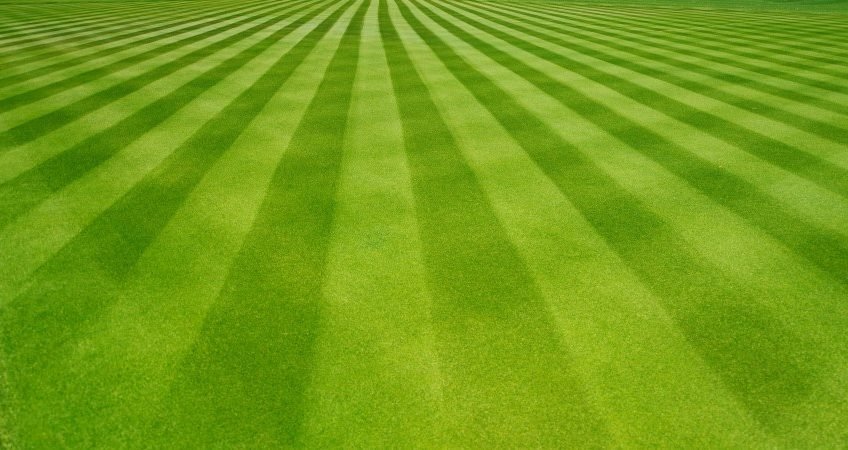
One advanced trick is to use a checkerboard effect. You stripe one direction, then mow over the area again at a right angle. That creates a deeper, more dramatic pattern. It looks impressive, but it also takes more time and is easier to mess up, so it works best on larger, level lawns.
What non-obvious details improve contrast
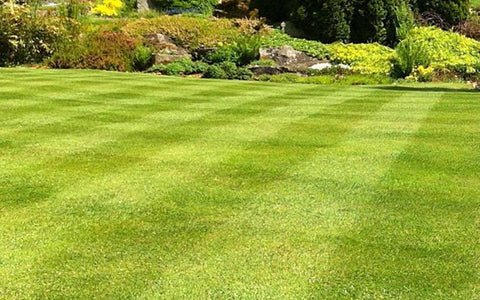
Grass color affects stripe visibility. A healthy lawn with strong color contrast shows stripes more clearly than a faded lawn. If your lawn is pale from stress, too much heat, or poor watering, the stripes will be weak no matter how good your mowing pattern is.
Another overlooked factor is mower direction relative to the sun. Stripes often look best when you walk around the lawn after mowing and view them from different angles. A stripe that looks weak from one side may look excellent from another. This is normal, because the effect depends on how light hits the grass blades.
Finally, a striping kit or rear roller works best on lawns with enough density to hold the bent shape. Thin grass falls back too quickly. That means feeding, watering, and overseeding can improve stripes just as much as changing the mower setup.
Fix the common mistakes that blur stripes
The most common mistake is mowing too fast. Fast mowing creates drifting lines, uneven overlap, and missed spots. Slow down enough to keep the mower steady, especially on turns and along long straight edges. The difference shows immediately.
Another mistake is mowing when the grass is too tall. Tall grass bends over before it is cut, so the mower cannot create a crisp line. If the lawn is badly overgrown, mow in two stages: raise the deck first and remove some height, then lower it on a second pass a few days later.
Many people also forget to clean the deck. Grass buildup under the mower can affect airflow and cutting quality. When airflow drops, clippings fall unevenly, and the stripe contrast weakens. Scraping the deck after mowing helps keep the finish clean.
Credit: powerequipmentct.com
Simple troubleshooting guide
- Stripe looks weak: Grass may be too dry, too short, or too thin.
- Stripe looks crooked: You may be drifting because your eyes are too close to the mower.
- One side looks darker: Tire pressure or deck leveling may be off.
- Stripes fade fast: The grass may not be healthy enough to hold the bend.
- Edges look messy: You may be turning too tightly or overlapping unevenly.
If you want the pattern to stand out longer, mow before the grass gets too mature between cuts. Smaller, regular cuts create cleaner results than one big haircut after two weeks of growth. That is one reason lawn crews keep such strict schedules.
Make the stripes last longer after mowing
Fresh stripes can look amazing right after mowing, but the effect does not always last all day. Sun, wind, watering, and foot traffic can all flatten the blades again. If you want the pattern to hold longer, avoid watering right after mowing and keep people off the lawn for a while.
Watering in the morning on a different day is better than spraying the lawn immediately after cutting. Heavy watering pushes the grass upright and softens the bend. That does not harm the lawn, but it shortens the visual life of the stripes.
Healthy turf keeps stripes longer. A lawn that gets proper nitrogen, even moisture, and regular mowing will usually stripe better than one that is stressed. The visual effect is not just about the mower. It is also about grass health.
When a striping kit is worth it
A striping kit makes sense if you want stronger contrast and your mower does not already press the grass firmly. It is especially helpful on larger lawns, where the pattern needs extra help to stay visible from the street. The added roller pressure can make ordinary stripes look more polished.
But a striping kit is not magic. If the lawn is patchy, wet, or overcut, it will not fix those problems. Think of it as a finishing tool, not a substitute for good mowing habits.
How to mow stripes without wasting time or damaging the lawn
The best striped lawns are not the result of complicated tricks. They come from repeatable habits: straight lines, correct height, sharp blades, and dry grass. Once those are in place, the pattern becomes much easier to maintain from one mow to the next.
If you are learning how to mow stripes, start simple and stay consistent. Use a long edge as your guide, overlap a little, and turn carefully at the ends. Once that feels natural, try changing directions or adding a second pass for a stronger pattern. Keep in mind that the lawn itself matters too. Healthy, dense grass stripes better than stressed turf every time.
For a cleaner, safer result, follow the mower’s official setup and maintenance guidance. If you are unsure about blade care or safe operation, your mower’s owner’s manual is the right place to confirm the proper settings for your model.
Credit: eufy.com
FAQs
How do I mow stripes if my lawn is small?
Use the longest straight edge you have, even if the lawn is small. Shorter passes still create a visible pattern when the lines are straight and the overlap is even. A small yard often looks best with simple parallel stripes instead of complex patterns.
Can any mower create lawn stripes?
Most rotary mowers can create basic stripes, but the effect is stronger with a rear roller or striping kit. The mower does not need to be expensive. It just needs to bend the grass in a consistent direction as it moves.
What grass types stripe the best?
Dense, fine-bladed grasses usually stripe best, especially Kentucky bluegrass, ryegrass, and fescue. These grasses bend well and hold the pattern longer. Coarse or thin grasses can still stripe, but the contrast is usually softer.
Why do my stripes disappear so quickly?
The grass may be too dry, too short, or too weak to hold the bend. Wind, watering, and foot traffic can also flatten the pattern early. Healthier turf and a slightly taller mow height usually help the stripes last longer.
How often should I change the direction of my stripes?
Changing direction every mow or every few mows is a smart habit. It reduces soil compaction in the same wheel tracks and helps the grass recover. Rotating the pattern also keeps the lawn looking fresh instead of worn into one direction.